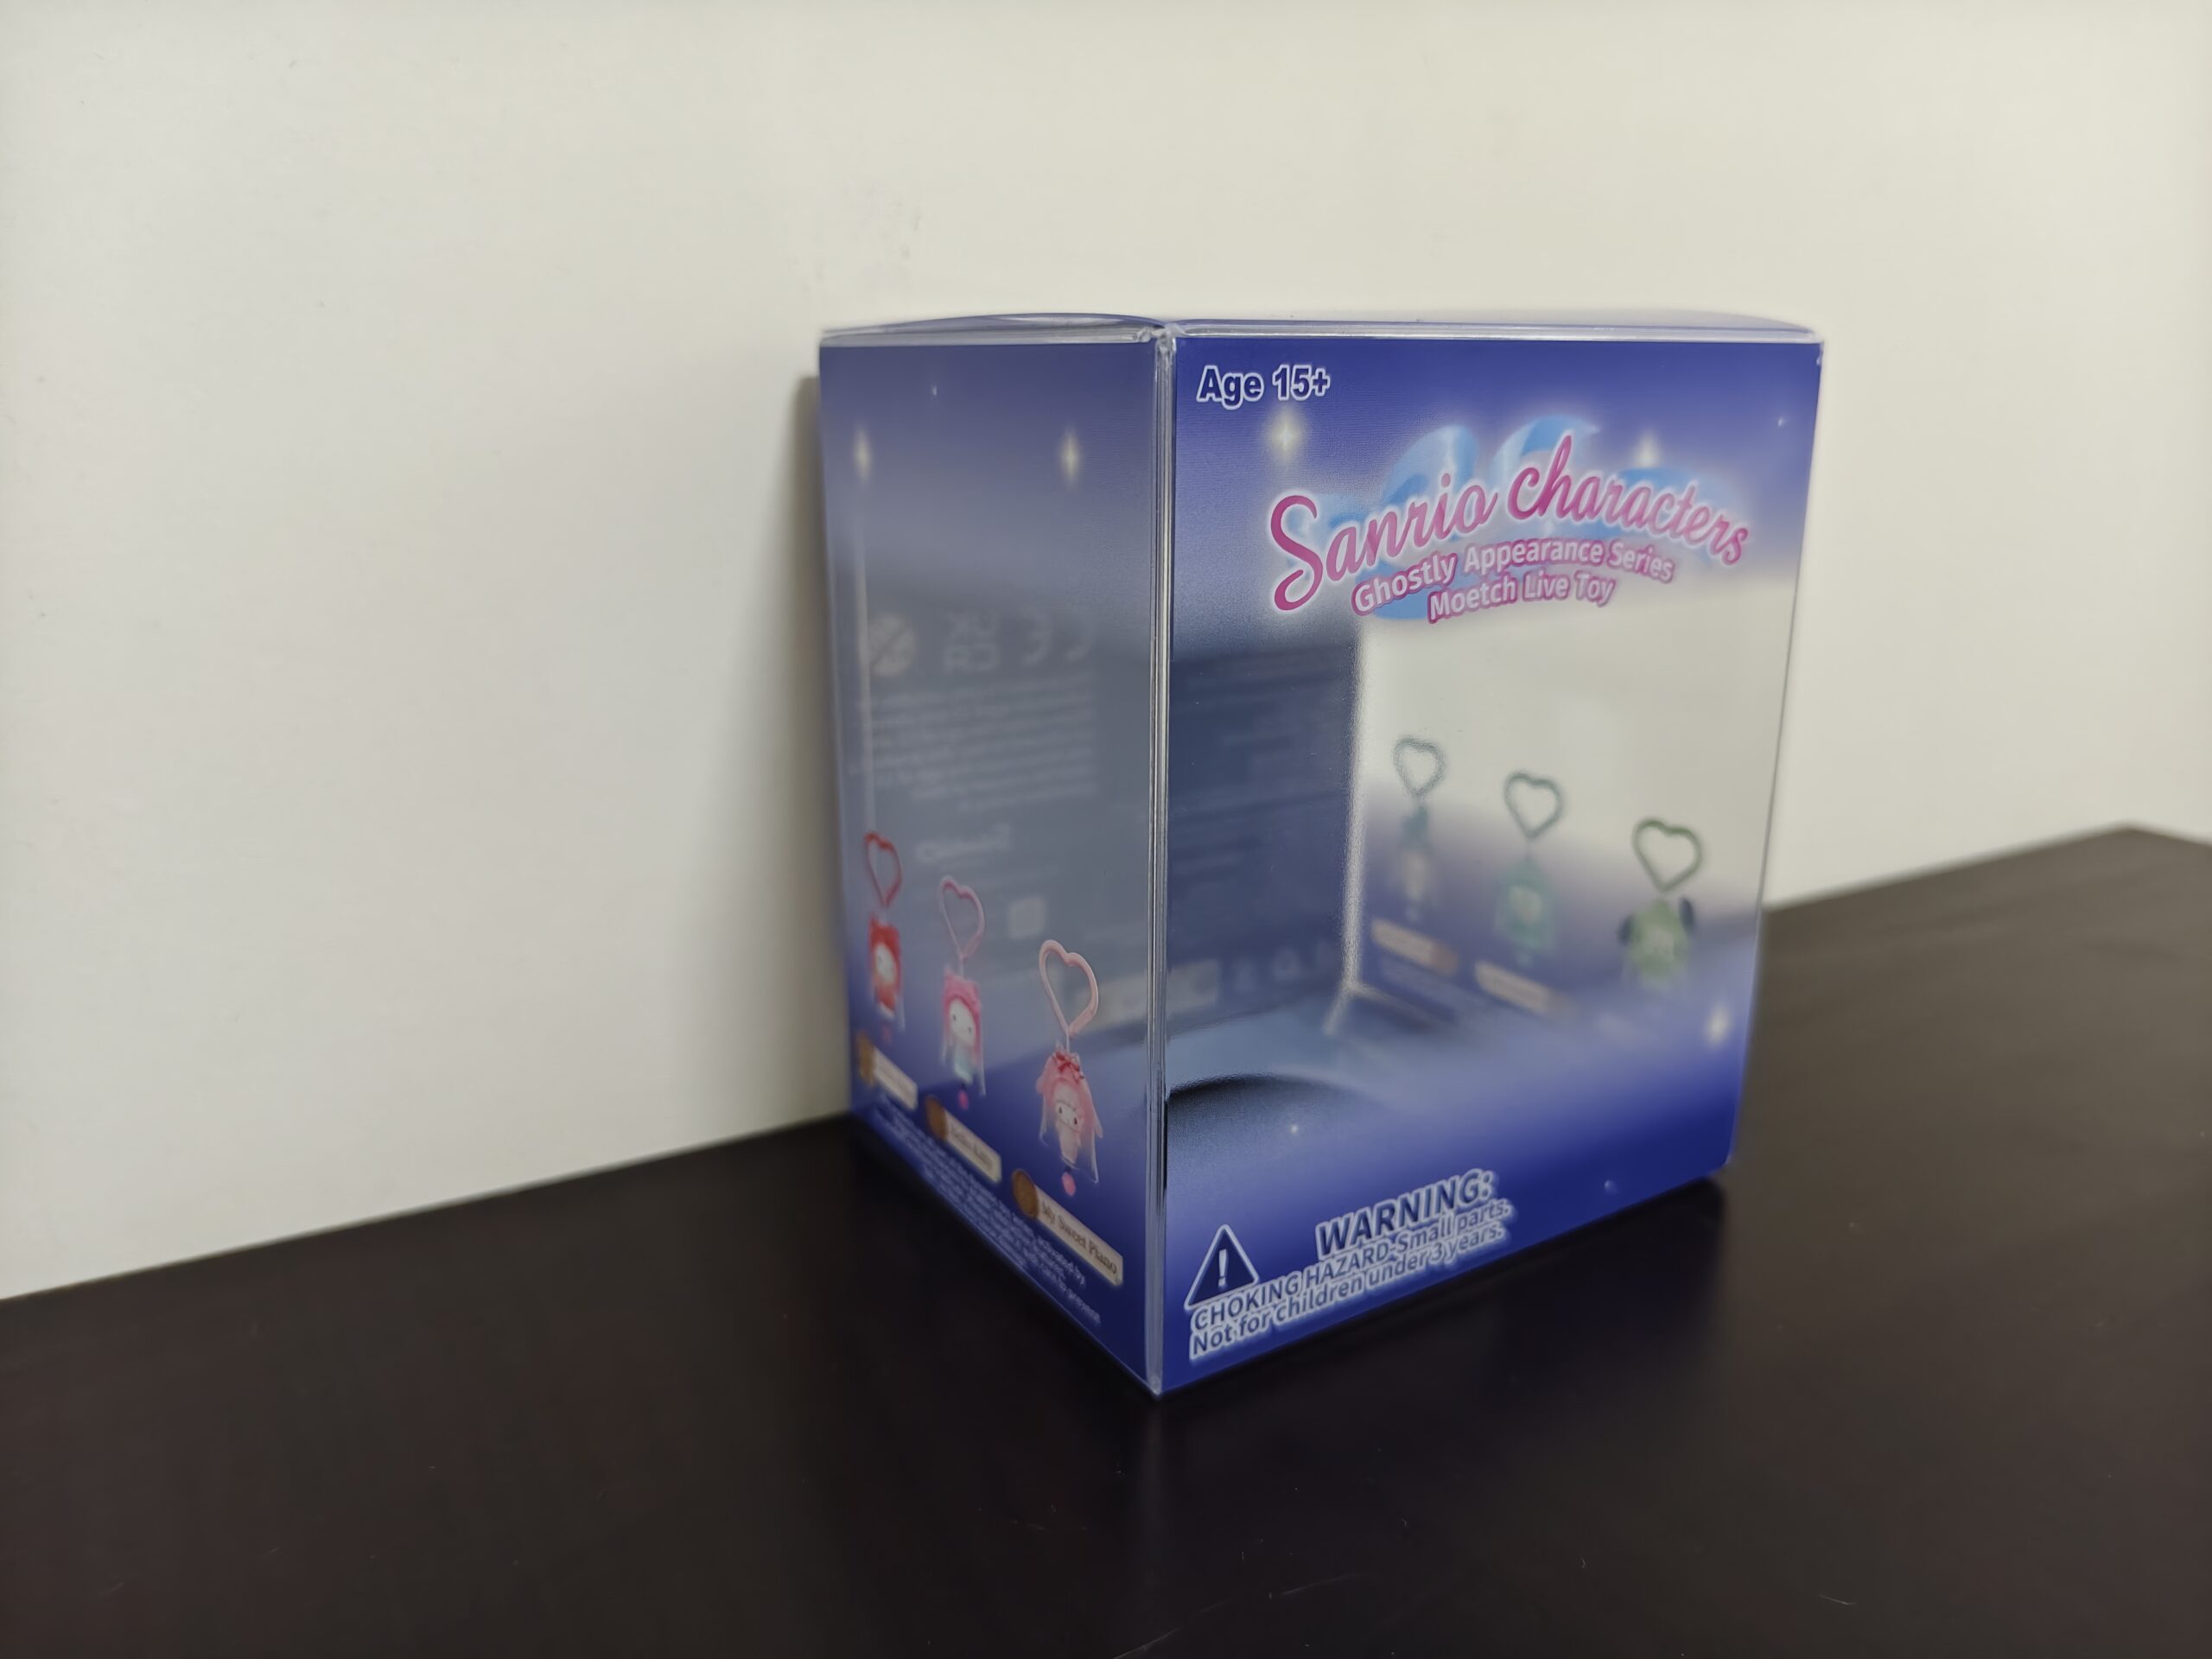
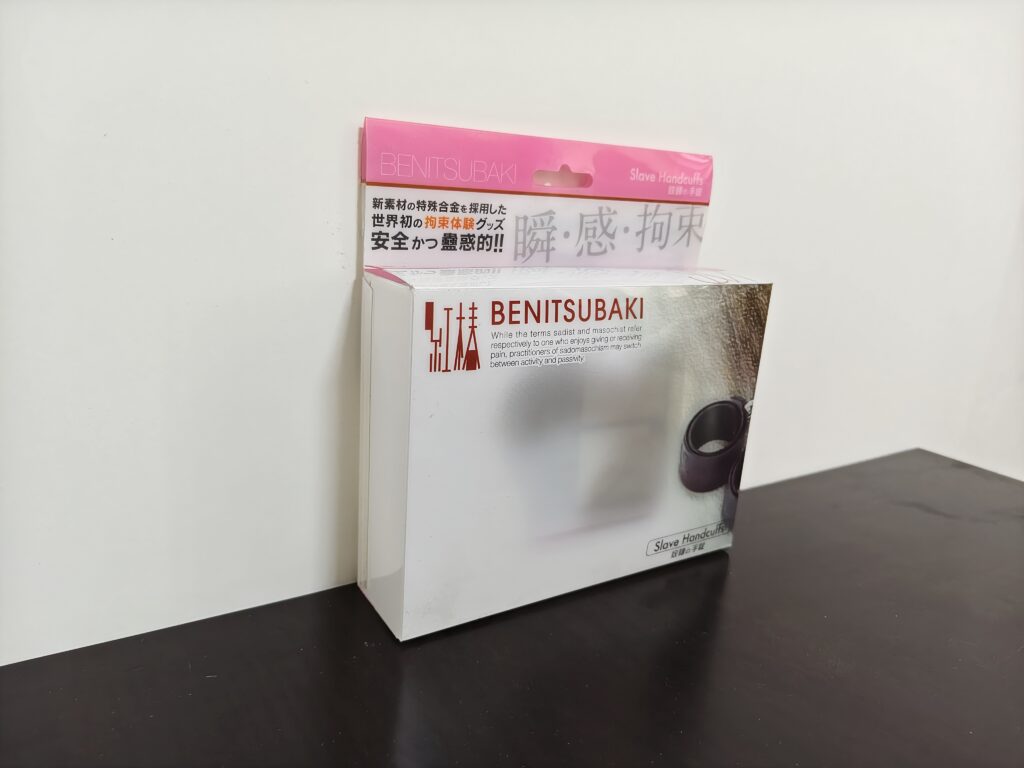
Preparing accurate artwork and dielines is an important step when ordering custom PET packaging boxes. Correct files help prevent printing errors, unclear graphics, incorrect cutting positions, and production delays.
This guide explains the basic artwork requirements, dieline structure, file formats, bleed settings, color modes, and other details you should prepare before sending your packaging design to a manufacturer.
What Is a Packaging Dieline?
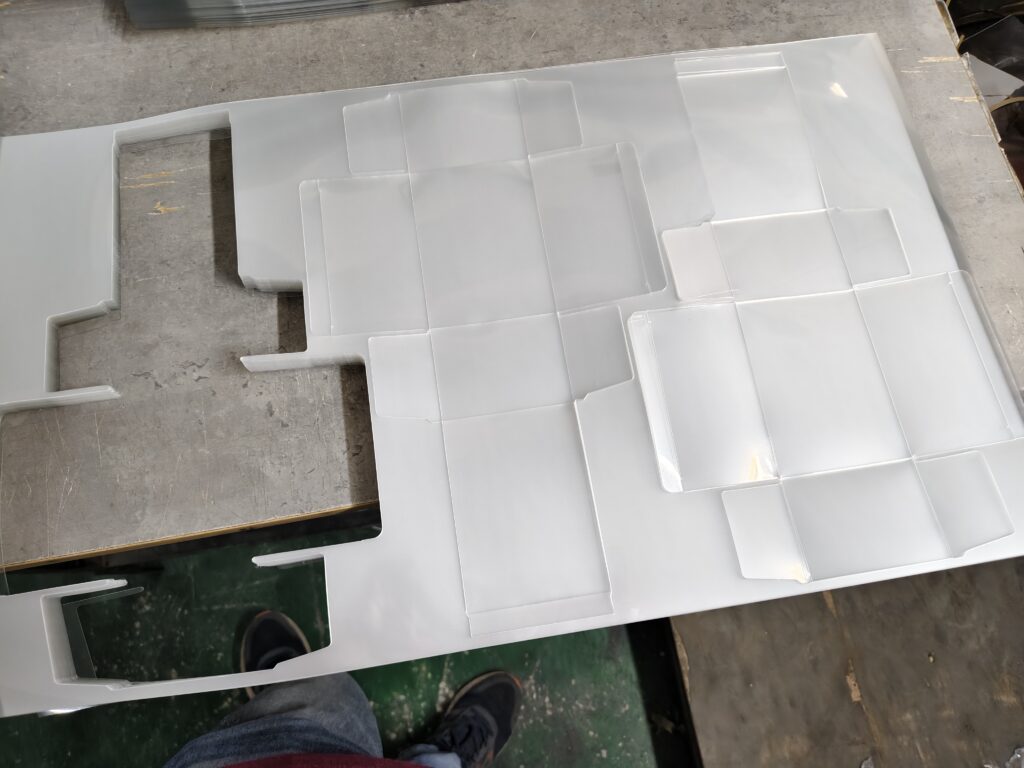
This photo shows three PET packaging box blanks arranged on one sheet after die-cutting and creasing. One of the blanks has already been removed, leaving the empty area on the left.
A packaging dieline is a flat technical drawing that shows the exact structure of a packaging box before it is cut, creased, folded, and glued.
It normally includes cutting lines, crease lines, glue areas, bleed areas, and panel positions. Your artwork should be placed directly on the approved dieline so every logo, image, and text appears in the correct position after the box is formed.The approved dieline determines the shape, crease positions, glue areas, and layout of each box blank on the plastic sheet.
Artwork File Formats We Recommend
For the best printing result, vector artwork files are strongly recommended. Common acceptable formats include Adobe Illustrator (AI), editable PDF, EPS, and CDR.
Vector files allow the manufacturer to adjust the artwork without losing image quality. If photos or raster images are included, they should normally have a resolution of at least 300 DPI at the final printing size.
Preferred File Formats
- AI (Adobe Illustrator)
- Editable PDF
- EPS
- CDR
- High-resolution PSD or TIFF when necessary
Use the Manufacturer’s Approved Dieline
Always place your artwork on the final dieline approved by the packaging manufacturer. Do not resize, stretch, or change the dieline unless the manufacturer confirms the modification.
The cutting lines, crease lines, glue areas, and panel positions must remain unchanged. Altering these elements may cause incorrect folding, misaligned printing, or production problems.
Important Dieline Rules
- Keep cutting and crease lines on separate layers
- Do not move or delete structural lines
- Keep logos and text away from folds and edges
- Do not place important artwork inside glue areas
- Confirm the final box size before starting the design
Set the Correct Bleed and Safe Area
Bleed is the extra artwork that extends beyond the cutting line. It helps prevent unwanted white edges caused by small cutting tolerances during production.
For most packaging artwork, a bleed of approximately 3 mm is commonly used. Important logos, text, barcodes, and product information should also remain inside the safe area, away from cutting and crease lines.
Recommended Artwork Spacing
- Extend background colors and images at least 3 mm beyond the cutting line
- Keep important text and logos at least 3–5 mm inside the cutting line
- Avoid placing barcodes directly on folds or crease lines
- Keep small text away from transparent glue areas
- Check that artwork continues correctly across connected panels
Use CMYK Colors and Specify Special Inks
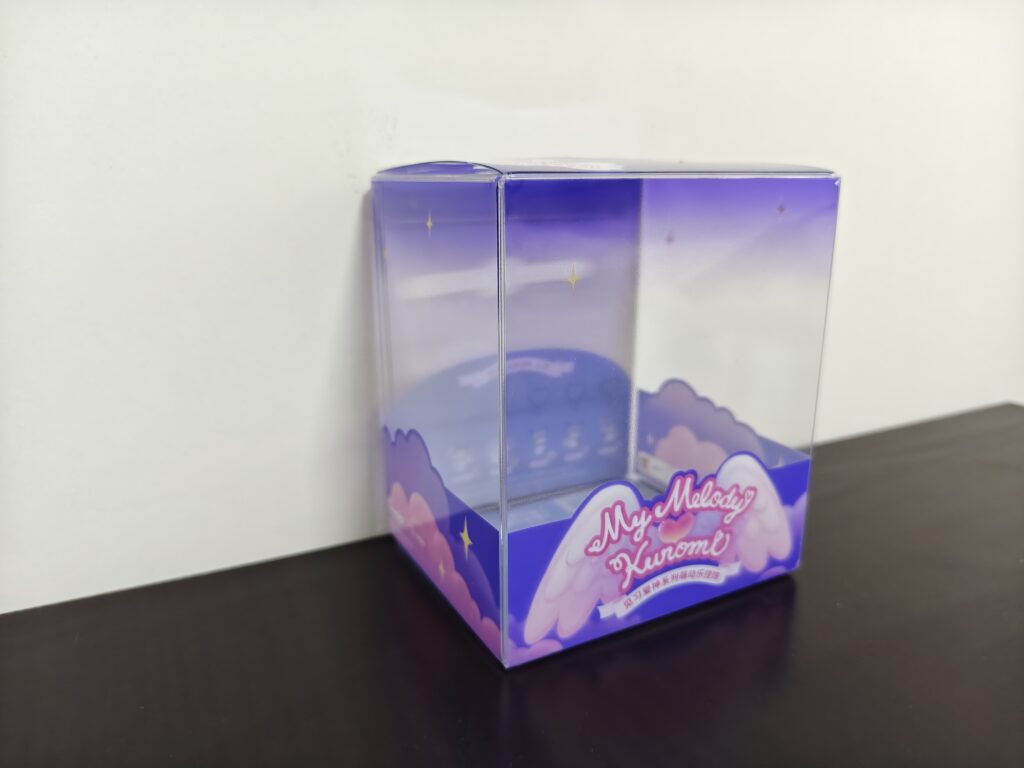
Packaging artwork should normally be prepared in CMYK color mode because commercial printing uses cyan, magenta, yellow, and black inks. Artwork created in RGB may look different after printing because RGB colors are designed for screens rather than printed materials.
If your design requires Pantone colors, metallic ink, white ink, spot UV, or hot stamping, clearly mark these elements on separate layers and provide the corresponding color codes or finishing instructions.
Color Preparation Checklist
- Convert all artwork from RGB to CMYK before submission
- Provide Pantone codes for exact brand colors
- Place white ink, spot UV, and hot stamping on separate layers
- Avoid using very light colors without confirming print visibility
- Request a physical sample when color accuracy is critical
Outline Fonts and Embed Images
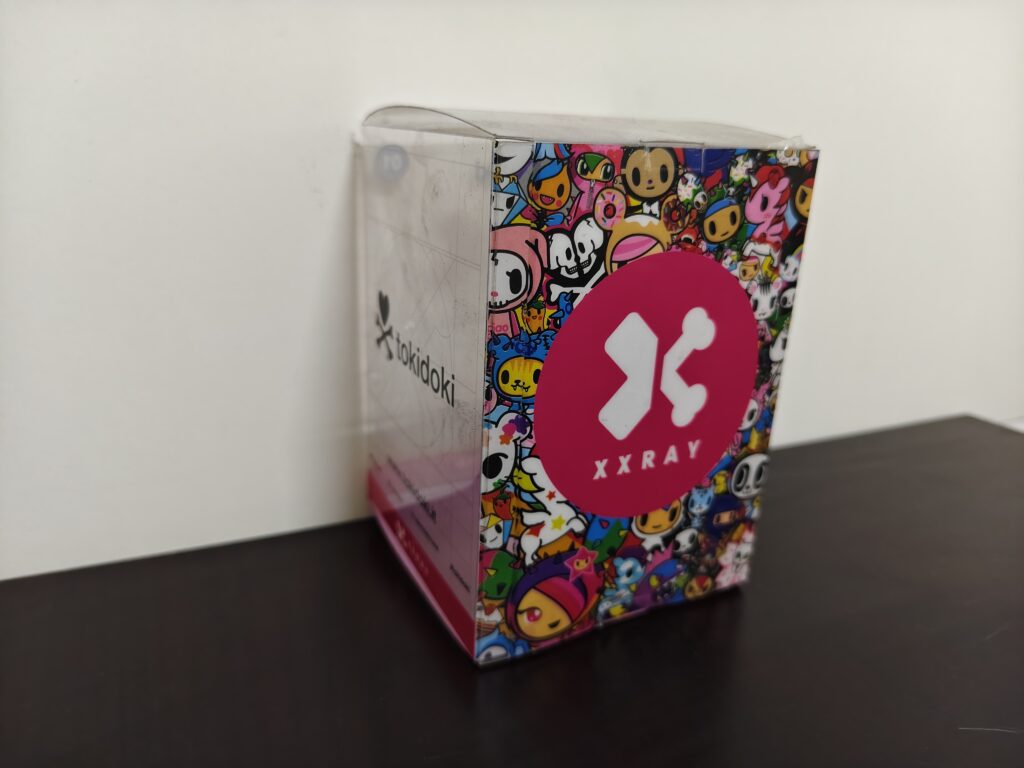
Before sending the final artwork, convert all fonts to outlines or curves. This prevents missing fonts, unexpected substitutions, and layout changes when the file is opened on another computer.
All linked images should be embedded in the artwork file. Raster images should normally be at least 300 DPI at the final printing size. Avoid using low-resolution screenshots or images copied directly from websites.
Font and Image Checklist
- Convert all fonts to outlines or curves
- Embed all linked images before submission
- Use images with at least 300 DPI at final size
- Check that logos and barcodes remain sharp
- Avoid low-resolution screenshots and compressed images
- Flatten complex transparency effects when necessary
Plan White Ink and Transparent Areas Carefully
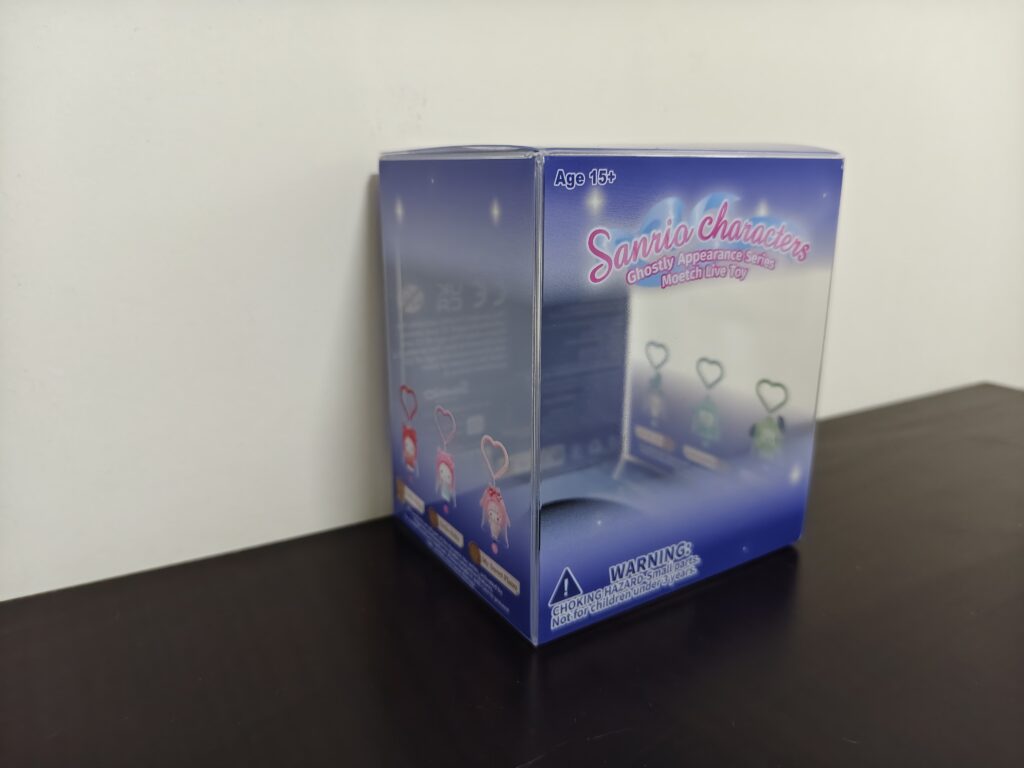
Clear PET packaging is transparent, so printed colors may appear lighter or less opaque than they do on white paper. White ink is often used as a base layer to improve color visibility and create solid printed areas.
If your design includes transparent windows, reverse printing, or areas that should remain clear, mark them clearly in the artwork. White ink, color printing, and varnish layers should be separated so the manufacturer can identify each production requirement.
Small white text or fine lines may be difficult to print clearly on transparent material. Keep important details large enough and confirm the minimum printable line width with the manufacturer before production.
White Ink and Transparency Checklist
- Mark white ink on a separate spot-color layer
- Clearly identify areas that must remain transparent
- Separate white ink, color printing, and finishing layers
- Avoid very small reverse text on clear PET
- Confirm whether printing is on the front or reverse side
- Request a printed sample when transparency is critical
Common Artwork Mistakes to Avoid
Many printing and production problems are caused by small artwork preparation mistakes. Checking the following items before submission can reduce revisions, prevent delays, and improve the final appearance of your PET packaging boxes.
- Using RGB colors instead of CMYK
- Sending low-resolution images or screenshots
- Forgetting to outline fonts or embed linked images
- Changing the approved dieline size or structure
- Placing logos, text, or barcodes too close to cutting lines
- Ignoring bleed and safe-area requirements
- Placing important artwork inside glue areas
- Failing to separate white ink, spot UV, and hot stamping layers
- Not marking transparent areas clearly
- Submitting files without checking the final box orientation
Before mass production, review the complete artwork together with the approved dieline. A digital proof or physical sample is recommended when the design includes detailed printing, special finishes, or precise color requirements.
Final Artwork Submission Checklist
Before sending your artwork to the packaging manufacturer, use this checklist to confirm that the files are ready for review and production.
- Use the manufacturer-approved dieline
- Confirm the final box dimensions and orientation
- Prepare artwork in CMYK color mode
- Provide Pantone codes for critical brand colors
- Add approximately 3 mm bleed where required
- Keep important text and logos inside the safe area
- Convert all fonts to outlines or curves
- Embed all linked images
- Use images with at least 300 DPI at final size
- Separate cutting, creasing, white ink, spot UV, and hot stamping layers
- Clearly mark glue areas and transparent areas
- Check barcodes, spelling, contact information, and legal text
- Save the final file in AI, editable PDF, EPS, or another approved format
- Request a digital proof or physical sample before mass production
A complete and clearly organized artwork file helps the manufacturer review your design faster, reduce revisions, and produce more accurate custom PET packaging boxes.
Need Help Preparing Your PET Packaging Artwork?
If you are not sure whether your artwork or dieline is ready for production, our team can help review the files before sampling. We can also prepare or adjust the packaging dieline according to your product size, box structure, printing method, and finishing requirements.
Send us your product dimensions, artwork files, printing requirements, and estimated order quantity. We will check the information and provide a suitable custom PET packaging solution.
You can also learn more about our Custom PET Packaging Boxes and PET Packaging Box Manufacturing Process.
Comments
2 responses to “How to Prepare Artwork and Dielines for Custom PET Packaging Boxes”
[…] The most common PET packaging printing methods include UV printing, offset printing, and screen printing. In this guide, we compare how these methods work, their advantages and limitations, and which option is most suitable for your packaging design.You may also want to review our guide on [how to prepare artwork and dielines for PET packaging boxes]. […]
[…] Choose a structure with enough flat panel area for logos, product information, barcodes, and decorative graphics. Complicated folds, glue areas, and curved sections may reduce the usable printing area.For artwork requirements, see our PET packaging artwork and dieline preparation guide. […]