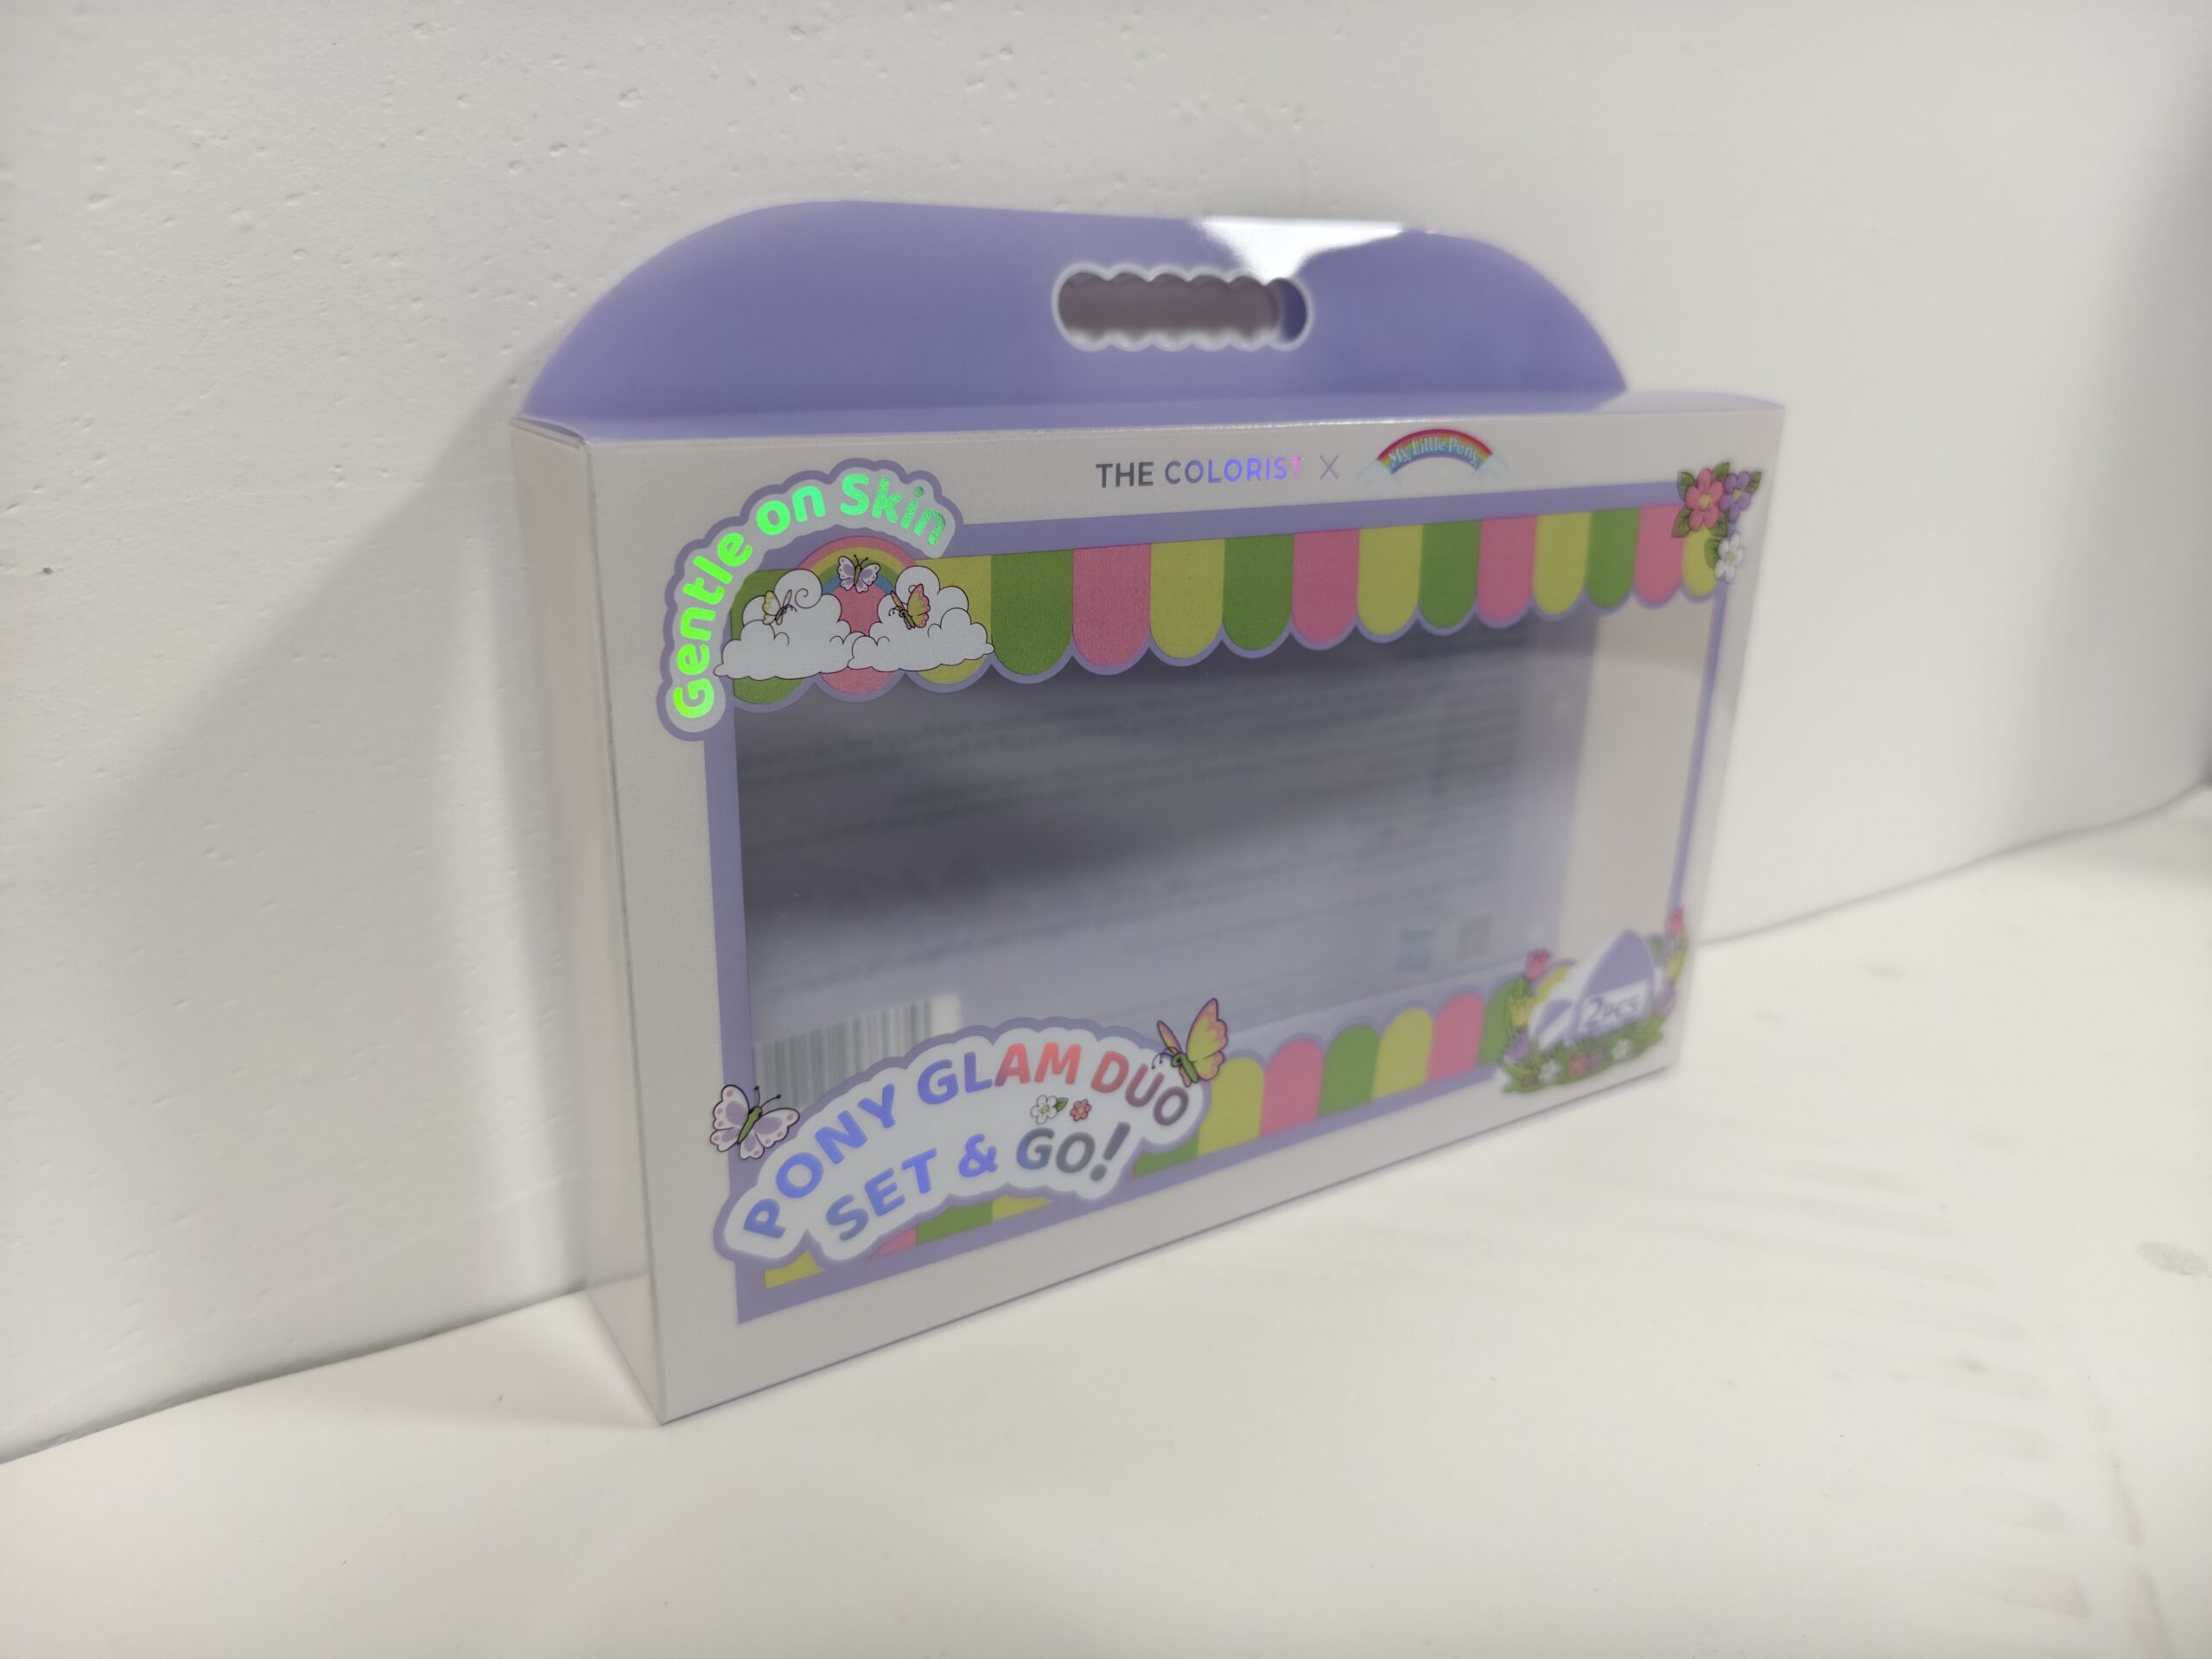
Custom PET packaging box costs are affected by material thickness, box size, structure, printing, finishing, order quantity, inserts, packing method, and production complexity.
To reduce PET packaging box costs effectively, buyers should review material thickness, box structure, printing, order quantity, and shipping together.
Reducing cost does not always mean choosing the thinnest material or the lowest quotation. An unsuitable cost-cutting decision may cause weak box structure, poor folding performance, printing defects, product movement, or additional rework.
A better approach is to remove unnecessary cost while keeping the functions that matter most for product protection, retail display, packing efficiency, and brand presentation.
In this guide, we explain practical ways to reduce PET packaging box costs without sacrificing the quality required for mass production.
Understand What Determines PET Packaging Box Cost
Before reducing cost, buyers should understand which parts of a custom PET packaging project create the largest expenses.
The final price is not based only on the external box dimensions. Two PET boxes with similar sizes may have different costs because of differences in sheet thickness, structural design, printing coverage, finishing processes, inserts, order quantity, and packing requirements.
Some costs are fixed, such as dieline preparation, printing setup, tooling, and sample development. Other costs change with each piece, including PET material consumption, printing ink, gluing, folding, packing, and transportation volume.
The most effective cost reduction usually comes from improving several areas together rather than making one extreme change.
Main Cost Factors
- Box dimensions
- PET sheet thickness
- Box structure
- Printing colors and coverage
- Surface finishing
- Inserts and trays
- Order quantity
- Number of SKUs
- Sampling and revisions
- Assembly and packing method
- Shipping volume
Choose the Right PET Thickness Instead of the Thickest Material
Using thicker PET does not automatically create better packaging. Excessive thickness increases material consumption, box weight, folding resistance, and production cost.
The suitable thickness should be selected according to the product dimensions, product weight, box structure, panel size, display method, and required bottom strength.
For lightweight products, a properly designed thinner PET box may provide enough support. For larger products, hanging packaging, or boxes with wide transparent panels, greater thickness may be necessary.
The goal is to use enough material to maintain structure and presentation without adding thickness that does not provide a practical benefit.
How to Avoid Paying for Unnecessary Thickness
- Confirm the actual product weight
- Check the size of the largest transparent panel
- Match thickness to the box structure
- Consider whether the box will stand or hang
- Test bottom strength with the real product
- Review folding performance before mass production
- Approve the final thickness with a physical sample
For more detailed guidance, read our PET packaging box thickness guide.
Simplify the Box Structure Without Reducing Function
Complex box structures usually require more PET material, longer dielines, additional locking tabs, more creasing positions, and extra assembly work.
A simpler structure can reduce material consumption and production time while still providing suitable product protection and retail presentation.
For many lightweight products, a standard tuck-end folding box may be more economical than an auto-lock bottom, two-piece box, or structure with multiple internal components.
However, the structure should not be simplified to the point that the box becomes difficult to assemble, opens during handling, or cannot support the product weight.
Ways to Simplify the Structure
- Remove unnecessary panels or decorative flaps
- Avoid complex locking systems when they are not required
- Use a standard tuck-end structure for lightweight products
- Reduce the number of separate packaging components
- Keep hanger tabs only when retail hanging display is needed
- Design the box for easy manual assembly
- Use one-piece structures when practical
- Test the simplified structure with the actual product
Compare common structures in our PET packaging box styles guide.
Reduce Printing Colors and Ink Coverage
Printing cost is affected by the number of colors, ink coverage, printing method, white ink, and setup requirements.
A design with fewer spot colors or smaller printed areas may be more economical than full-surface printing. Leaving part of the PET box transparent can also preserve product visibility while reducing ink usage.
White ink should be used only where it is needed to support color opacity or improve readability. Large areas of white ink, metallic effects, or multiple finishing layers may increase both setup cost and production difficulty.
The objective is not to remove branding, but to concentrate printing on the panels and design elements that create the most value.
Practical Ways to Reduce Printing Cost
- Reduce unnecessary printing colors
- Keep selected panels transparent
- Limit full-surface ink coverage
- Use white ink only where required
- Avoid printing on hidden panels
- Simplify gradients and complex color transitions
- Combine small design elements into fewer printing areas
- Confirm whether spot-color printing can replace full-color printing
- Approve the final artwork before printing setup
Compare available processes in our PET packaging printing methods guide.
Remove Unnecessary Finishing Processes
Finishing processes can improve appearance, but each additional process increases setup time, production complexity, and cost.
Hot stamping, spot UV, metallic ink, embossing, frosting, and other decorative effects should be used only when they provide a clear branding or retail benefit.
For many transparent PET boxes, a clean structure with limited printing can already create a premium appearance. Adding too many finishes may increase cost without significantly improving the customer’s perception of the product.
Buyers should identify which finishing details are essential and remove those that are only decorative but do not support the main packaging objective.
Questions to Ask Before Adding a Finish
- Does the finish improve product visibility?
- Is it important for brand recognition?
- Will customers notice the difference?
- Is the finish required on every panel?
- Can printing create a similar effect at lower cost?
- Will the finish affect folding or ink adhesion?
- Does it increase sample or production lead time?
- Can the process be removed without reducing packaging function?
Increase Order Quantity Carefully
Higher order quantities can reduce the unit cost because fixed expenses are distributed across more pieces.
Printing setup, tooling, dieline preparation, sampling, and machine adjustment do not increase at the same rate as the production quantity. As a result, the cost per box is usually lower when the order quantity increases.
However, ordering more boxes only to obtain a lower unit price may create excess inventory, storage pressure, outdated artwork, or unused packaging if the product design changes.
The better approach is to compare several realistic quantity options and choose the level that balances unit cost with expected sales and inventory risk.
How to Choose a Cost-Effective Order Quantity
- Confirm the expected sales volume
- Compare quotations at several quantity levels
- Check the quantity required for each SKU
- Consider warehouse and storage capacity
- Review the risk of product or artwork changes
- Estimate repeat order frequency
- Avoid ordering excessive inventory only for a lower unit price
- Choose a quantity that supports both cost control and cash flow
For more information about minimum quantities, read our custom PET packaging box MOQ guide.
Use the Same Box Structure Across Multiple SKUs
Using the same box dimensions and structure across several SKUs can reduce tooling, dieline preparation, sampling, and production setup costs.
This approach works best when the products have similar dimensions and weights. Different models can share the same PET box while using different printed artwork, labels, inserts, or internal positioning.
Standardizing the structure also simplifies purchasing, inventory management, packing instructions, and repeat orders.
However, products should not be forced into one standard box if the fit becomes too loose, the insert becomes complicated, or the retail presentation is weakened.
When SKU Standardization Works Well
- Products have similar external dimensions
- Product weights are close
- The same opening and closure method is suitable
- Different versions can be identified through printing or labels
- A simple insert can adjust small size differences
- The box still provides suitable product protection
- The shared structure remains easy to assemble
- The final appearance is acceptable for every SKU
Confirm Dimensions and Artwork Before Sampling
Repeated changes to dimensions, dielines, artwork, or printing requirements can increase sampling cost and delay production.
Before a sample is prepared, buyers should confirm the product size, product weight, packing orientation, accessories, insert requirements, box structure, PET thickness, printing area, and artwork version as clearly as possible.
Incomplete information may lead to a sample that fits poorly, uses the wrong structure, or requires a new dieline. If printing has already been prepared, artwork changes may also create additional setup or plate costs.
Providing accurate information at the beginning helps the manufacturer prepare a more reliable sample and reduces unnecessary revisions.
Information to Confirm Before Sampling
- Maximum product length, width, and height
- Product weight
- Product photos from several angles
- Packing orientation
- Accessories and insert requirements
- Preferred box structure
- PET thickness
- Printing colors and coverage
- Transparent areas
- Final artwork version
- Expected order quantity
- Required sample type
Review our PET packaging box quotation requirements before submitting your project details.
Ship PET Boxes Flat When Possible
Shipping PET boxes flat can reduce carton volume, improve packing efficiency, and lower transportation costs.
Pre-assembled boxes occupy much more space and may also be more easily deformed during shipment. Flat-packed boxes can usually be stacked more efficiently and protected more consistently inside export cartons.
However, flat shipping is suitable only when the box structure can be assembled easily at the buyer’s warehouse, packing line, or fulfillment center.
If assembly requires too much labor, special equipment, or complex locking steps, the savings in freight may be offset by higher packing costs.
When Flat Shipping Is a Good Option
- The box can be folded and assembled easily
- The buyer has available packing labor
- No special assembly equipment is required
- The structure remains stable after assembly
- The boxes can be stacked safely while flat
- Printed surfaces can be protected during shipment
- Assembly instructions are clear
- Freight volume savings are greater than the added labor cost
Learn more in our guide to how custom PET packaging boxes are packed and shipped.
Reduce Inserts and Separate Components
Inserts, trays, dividers, and separate accessories can improve product positioning, but they also add material, tooling, assembly, and packing costs.
Before including an insert, confirm whether the outer PET box can hold the product securely by itself. For lightweight or regularly shaped products, a well-designed box structure may provide enough support without an additional tray.
When an insert is necessary, keep the design simple and use only the material required to prevent movement or improve presentation.
The goal is to avoid separate components that increase cost without providing clear protection, organization, or display value.
How to Reduce Insert Cost
- Remove inserts that do not improve product protection
- Use a simple folded insert instead of a complex tray
- Reduce the number of separate components
- Combine several functions into one insert
- Avoid oversized inserts with unnecessary material
- Confirm whether the product can be held by the box structure
- Standardize insert dimensions across similar SKUs
- Test the final packed arrangement before production
Avoid Repeated Sampling and Design Changes
Repeated sampling and design changes can increase material usage, labor, tooling adjustments, printing setup, and project lead time.
Some revisions are necessary, especially when product fit, box strength, folding quality, or printing accuracy has not yet been confirmed. However, avoidable changes often happen because dimensions, artwork, accessories, or packing requirements were not finalized before sampling.
Buyers can reduce these costs by collecting internal feedback early, using the correct product sample, confirming the latest artwork version, and reviewing all requirements before requesting another sample.
The objective is not to skip sample approval, but to make each sample round more useful and reduce unnecessary repetition.
How to Reduce Unnecessary Sample Revisions
- Use the actual product or an accurate reference sample
- Confirm dimensions before preparing the dieline
- Collect feedback from all decision-makers early
- Use one clearly identified artwork version
- Confirm printing colors, transparent areas, and finishes
- Review the box structure before printed sampling
- Record all requested changes in one revision list
- Approve the plain structure before adding complex printing
- Compare the sample with the final production requirements
Use our PET packaging box sample checklist before approving mass production.
Compare the Total Cost, Not Only the Unit Price
The lowest unit price is not always the lowest total cost.
A quotation should be reviewed together with tooling, sampling, printing setup, inserts, assembly, packing, shipping volume, expected defect risk, and potential rework.
A slightly higher unit price may be more economical if the box fits correctly, assembles efficiently, ships flat, protects the product, and reduces production problems.
Buyers should compare the complete packaging solution rather than evaluating only the price of each individual box.
Costs to Compare Beyond the Unit Price
- Dieline and tooling cost
- Sample development cost
- Printing setup cost
- Insert and accessory cost
- Assembly labor
- Carton packing efficiency
- Shipping volume
- Defect and rework risk
- Storage requirements
- Repeat order convenience
- Potential cost of product damage
- Cost of future design changes
The best way to reduce PET packaging box costs is to compare the total packaging solution instead of focusing only on the unit price.
For a broader cost breakdown, read our custom PET packaging box pricing guide.
How to Reduce PET Packaging Box Costs: Buyer Checklist
- Confirm the actual product dimensions and weight
- Select the required PET thickness instead of the maximum thickness
- Use the simplest structure that still meets functional requirements
- Reduce unnecessary printing colors and ink coverage
- Remove finishes that do not provide clear value
- Compare several realistic order quantities
- Standardize box structures across similar SKUs when practical
- Finalize dimensions, artwork, and inserts before sampling
- Ship boxes flat when assembly conditions allow
- Reduce unnecessary inserts and separate components
- Record all revisions clearly before requesting another sample
- Compare tooling, packing, shipping, and rework costs
- Approve the final sample before mass production
Need Help Reducing Your PET Packaging Box Cost?
To reduce PET packaging box costs without sacrificing quality, each cost-saving decision should still protect product fit, strength, appearance, and packing efficiency.
Reducing PET packaging box costs requires more than choosing the lowest quotation. The most effective solution should balance material usage, box structure, printing, order quantity, assembly, shipping, product protection, and retail presentation.
Send us your product dimensions, weight, photos, expected order quantity, box structure, printing requirements, and delivery destination. If you already have artwork, a dieline, or a reference sample, include those files for review.
Our team can evaluate the main cost factors and recommend practical adjustments that help control the total packaging cost without removing the functions required for production and retail use.