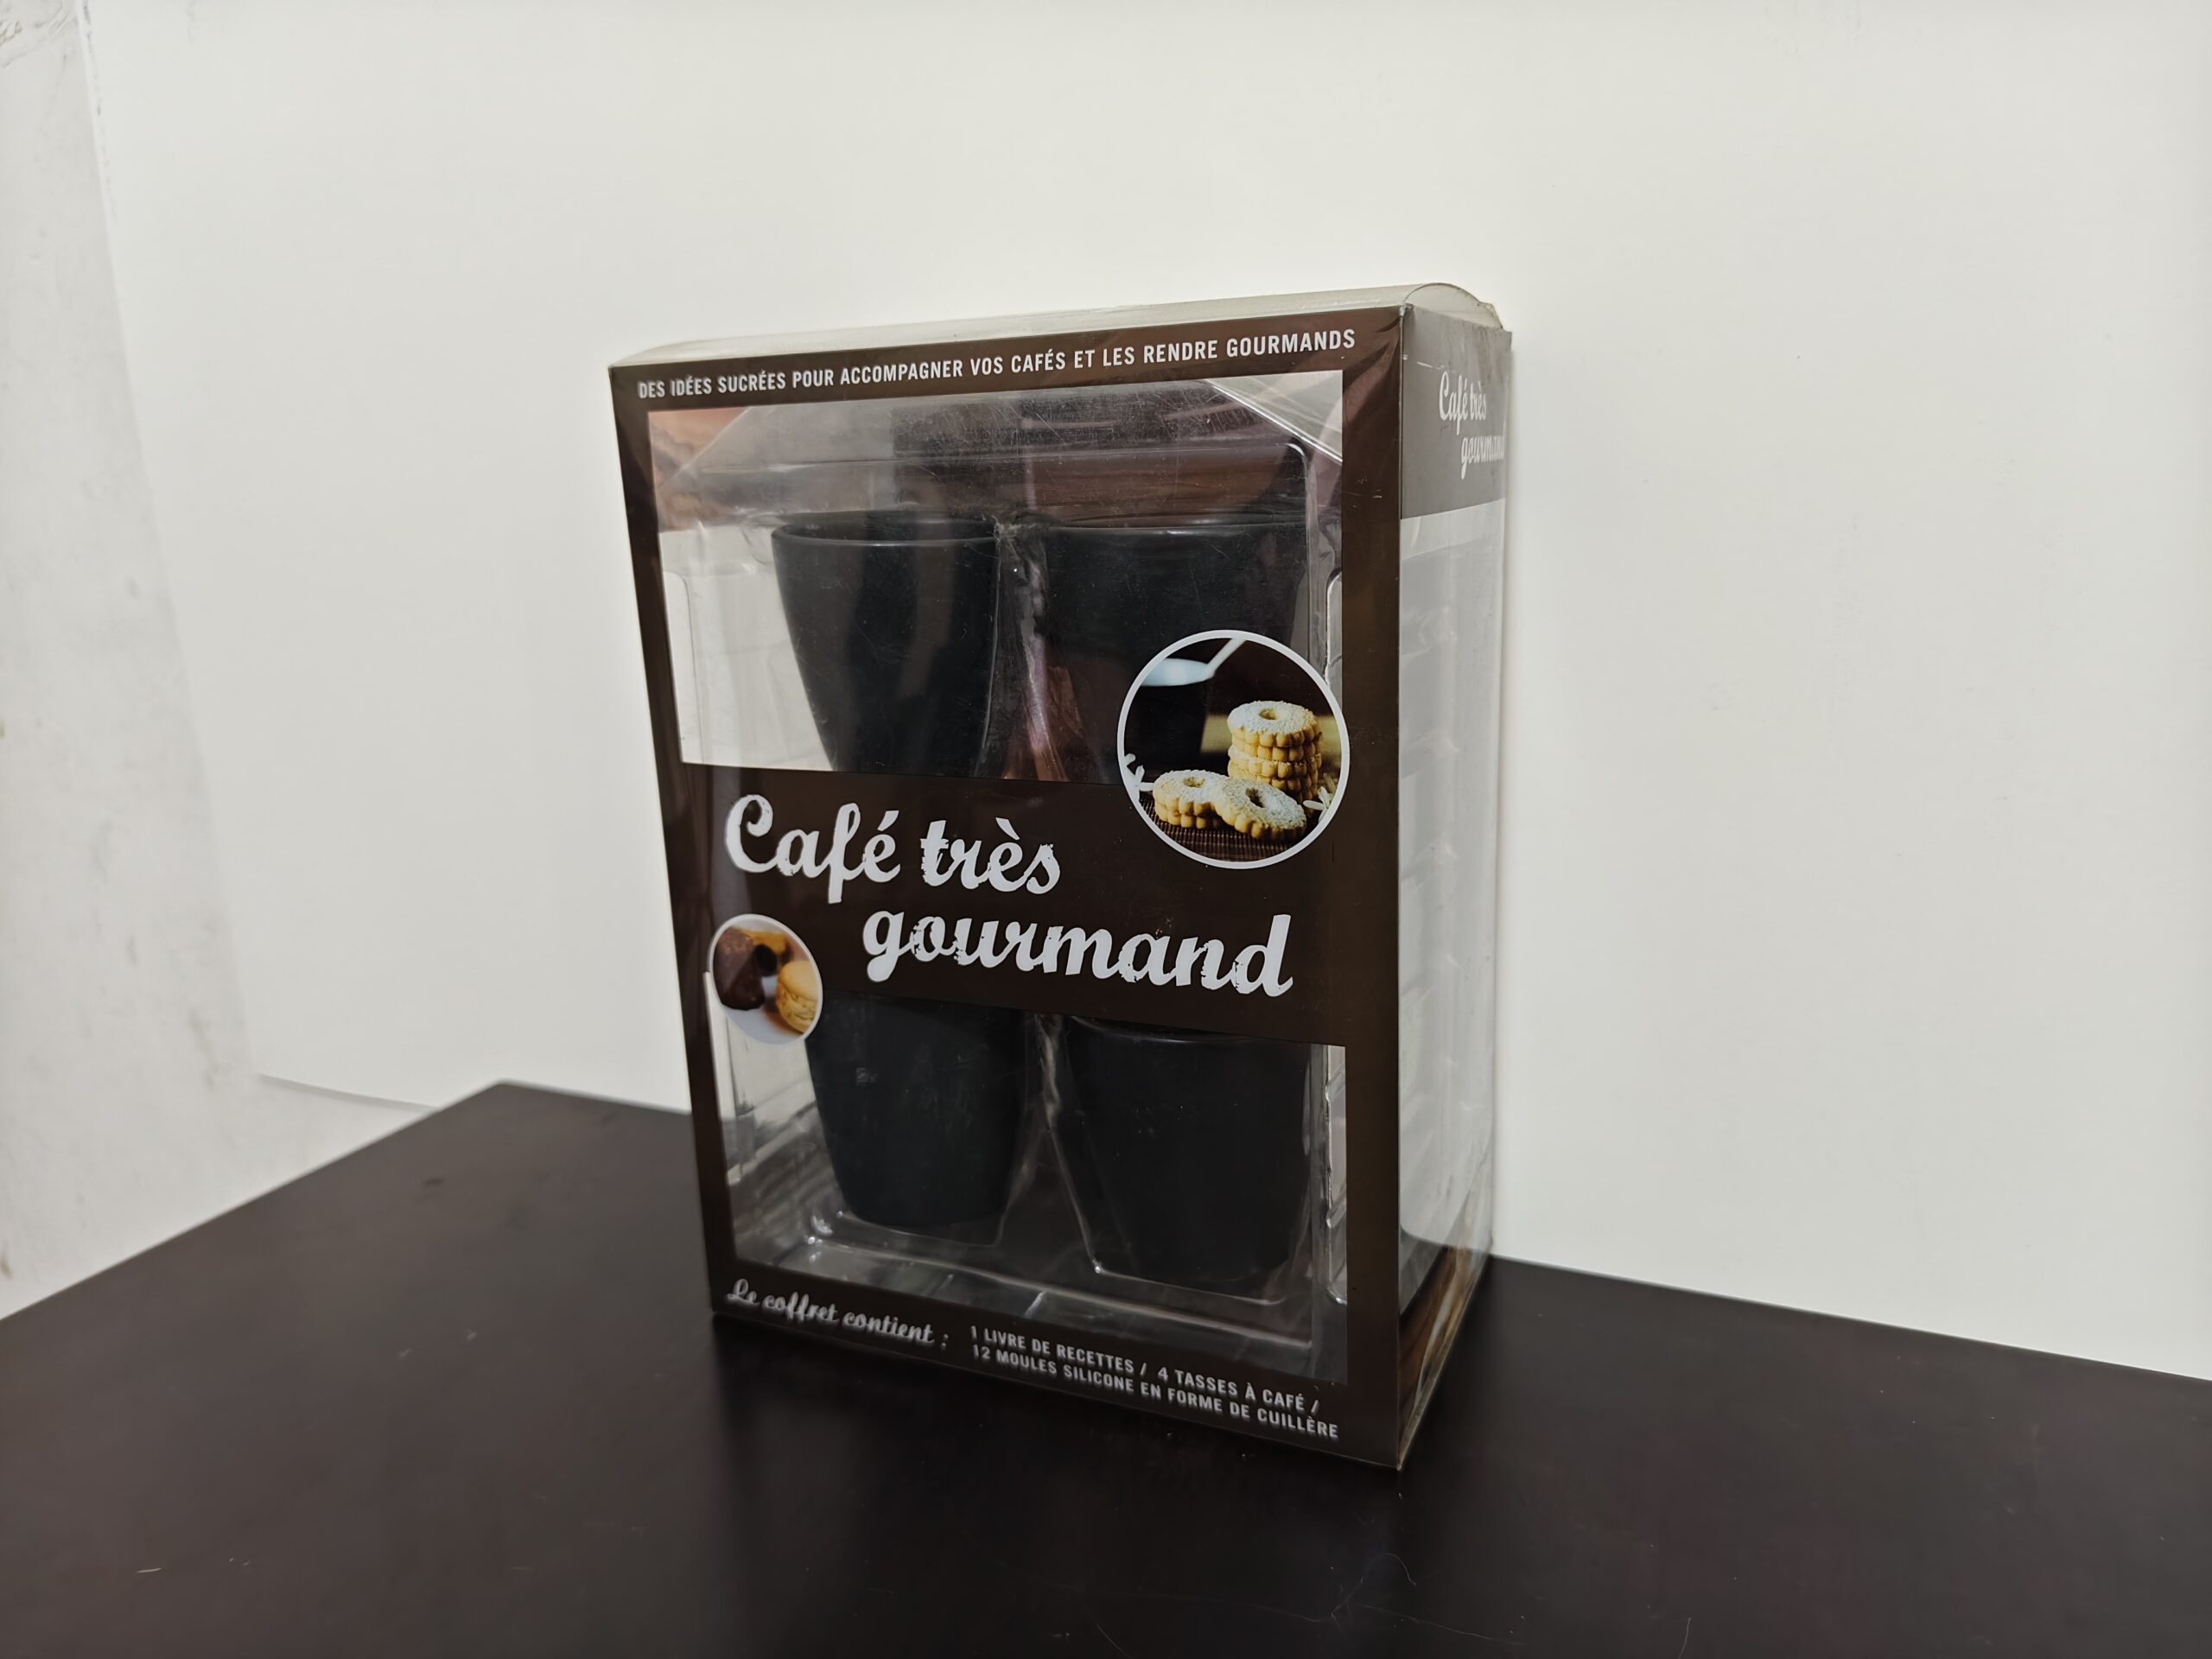
Accurate PET packaging box measurement is essential when ordering custom packaging. Even a small measurement error can make the box too tight, too loose, difficult to assemble, or unable to protect the product properly.
Knowing how to measure products for a PET packaging box helps prevent fitting problems, sampling delays, and unnecessary production changes.
The box size should not simply copy the product’s external dimensions. The manufacturer must also consider fitting clearance, PET material thickness, inserts, accessories, protruding parts, and the way the product will be packed and displayed.
In this guide, we explain how to measure your product correctly, how much extra space may be required, and what information to provide when requesting a custom PET packaging box quotation.
Why Accurate Product Measurements Matter
Product measurements determine the internal dimensions, structure, material usage, and final cost of a PET packaging box. Incorrect dimensions can cause several production and packing problems.
A box that is too small may press against the product, scratch printed surfaces, deform the PET panels, or prevent the closing flaps from locking correctly. A box that is too large may allow the product to move, reduce protection, and create an unprofessional retail appearance.
Accurate measurements also help the manufacturer prepare the correct dieline, estimate material consumption, calculate pricing, and produce a sample that fits the product before mass production.
After confirming the product dimensions, you can also review our guide to PET packaging box styles to choose a suitable box structure.
PET Packaging Box Measurement: Length, Width, and Height
For most rectangular products, measure the three maximum external dimensions: length, width, and height. Always measure the product at its widest, deepest, and tallest points rather than measuring only the main body.
Length is usually the longest horizontal side of the product. Width is the shorter horizontal side, and height is measured from the bottom to the highest point. Keep the order consistent when sending dimensions to the manufacturer, for example: 120 × 80 × 35 mm (L × W × H).
Use a rigid ruler or digital caliper whenever possible. Soft measuring tapes may bend around the product and produce inaccurate results. For small products, record measurements to the nearest 0.5 mm or 1 mm.
If the product includes caps, buttons, hooks, cables, handles, raised logos, or other protruding parts, include them in the final measurement. The packaging must fit the complete product, not only its main body.
Basic Product Measurement Checklist
- Measure the maximum length
- Measure the maximum width
- Measure the maximum height
- Include all protruding parts
- Record dimensions in millimeters
- Confirm the order as L × W × H
- Measure more than once to avoid mistakes
How to Measure Irregularly Shaped Products
Irregularly shaped products require more careful measurement because their widest or tallest point may not be located in the center. Measure the maximum outer dimensions of the complete product, including all curves, corners, handles, caps, hooks, and raised parts.
Imagine placing the product inside the smallest possible rectangular box. The internal length, width, and height of that imaginary box represent the product’s maximum external dimensions.
For soft, flexible, or movable products, measure them in the same position in which they will be packed. Do not compress the product unless compression is part of the final packaging method.
If the product has separate accessories, cables, tools, or detachable parts, decide whether they will be placed beside, above, or below the main product. Their arrangement will affect the required box dimensions and insert design.
Helpful Information for Irregular Products
- Photos from the front, side, and top
- Maximum external dimensions
- Product weight
- Position of protruding parts
- Number and size of accessories
- Preferred packing orientation
- Whether an internal insert is required
Allow Space for Inserts and Accessories
The product itself is not always the only item placed inside a PET packaging box. Internal trays, paper cards, foam inserts, cables, instruction sheets, accessories, and promotional materials may also require additional space.
Before confirming the final box dimensions, decide how every item will be arranged inside the package. Measure the complete packed set rather than measuring only the main product.
An insert can help hold the product in position, reduce movement, and improve the retail presentation. However, the thickness and structure of the insert will increase the required internal dimensions of the box.
For example, if a cosmetic bottle is placed inside a folded paper insert, the manufacturer must consider both the bottle size and the thickness of the paper insert. If several accessories are packed beside the main product, their combined width and height must also be included.
Items That May Affect the Final Box Size
- PET or paper inserts
- Blister trays
- Foam or EVA padding
- Instruction cards and manuals
- Cables and small accessories
- Promotional gifts
- Product labels and protective films
- Internal dividers
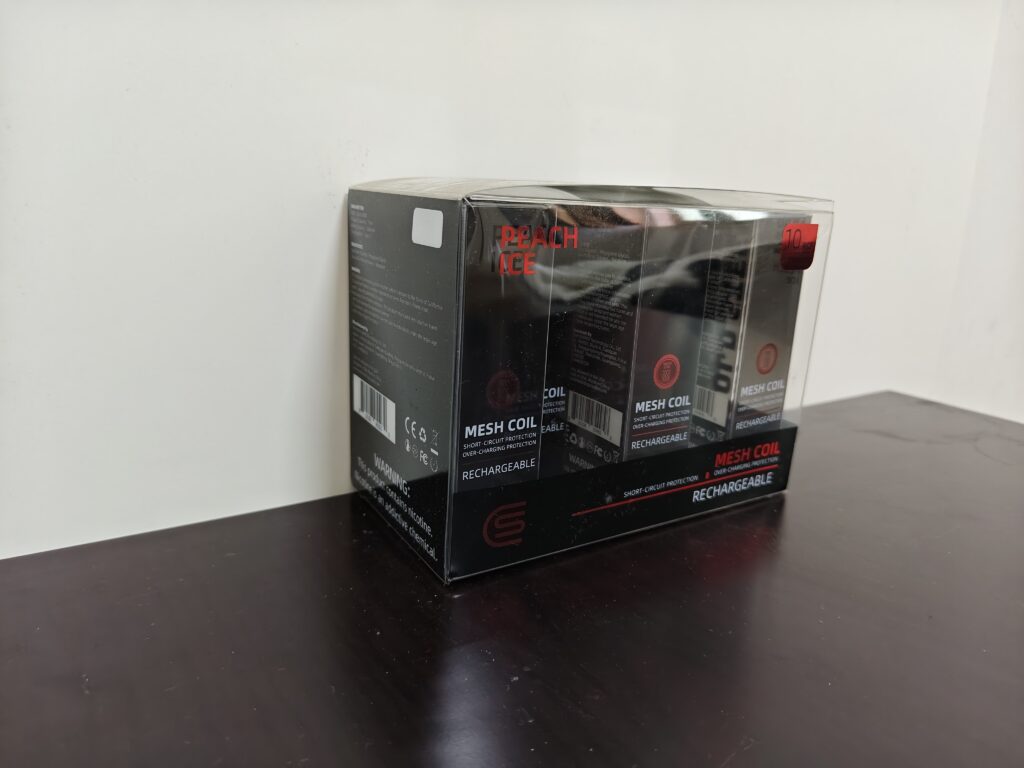
When several products are packed together, measure the complete arrangement and allow enough space for positioning, clearance, and easy removal.
How Much Clearance Should Be Added?
A custom PET packaging box should normally be slightly larger than the product or complete packed set. This extra space is called fitting clearance, and it allows the product to be inserted and removed without damaging the box.
There is no single clearance value that works for every project. The required allowance depends on the product size, shape, surface, insert design, PET thickness, box structure, and packing method.
For many small and regular products, a small allowance of approximately 1–2 mm on each relevant dimension may be sufficient. Larger products, irregular shapes, textured surfaces, or products packed with inserts may require more space.
Do not add excessive clearance without confirming it with the manufacturer. A box that is too loose may allow the product to move and may look oversized. The manufacturer should calculate the final internal dimensions after reviewing the product measurements, photos, packing arrangement, and sample requirements.
Factors That Affect Fitting Clearance
- Product size and shape
- Surface texture and protruding parts
- PET sheet thickness
- Box structure and folding direction
- Type and thickness of internal insert
- Manual or automatic packing
- Required product movement inside the box
- Need for easy insertion and removal
Common Product Measurement Mistakes
Many packaging fit problems are caused by small measurement mistakes before the dieline is created. Reviewing the product carefully before sending dimensions can reduce revisions, sampling delays, and unnecessary tooling changes.
One common mistake is measuring only the main body while ignoring caps, buttons, handles, hooks, cables, or other protruding parts. Another is measuring each product separately without considering how multiple items will be arranged inside the final box.
Customers may also provide the desired outer box dimensions instead of the actual product dimensions. The manufacturer normally needs the product size first so that suitable clearance, PET thickness, inserts, and box structure can be calculated correctly.
Measurements taken with a soft tape, rounded too early, or recorded in an unclear order can also create confusion. Always state the unit and use a consistent format such as L × W × H.
Mistakes to Avoid
- Measuring only the main product body
- Ignoring caps, handles, buttons, or raised parts
- Compressing soft products during measurement
- Forgetting accessories and inserts
- Providing outer box dimensions instead of product dimensions
- Mixing millimeters, centimeters, and inches
- Changing the order of length, width, and height
- Measuring only once
- Rounding measurements excessively
- Sending dimensions without product photos
What Information Should You Send the Manufacturer?
Clear and complete product information helps the packaging manufacturer confirm the box dimensions, recommend a suitable structure, calculate pricing, and prepare an accurate sample.
Product measurements alone may not be enough, especially when the product is irregular, includes accessories, requires an insert, or must be displayed in a specific direction. Photos and packing details help the manufacturer understand how the finished package should work.
Information to Include in Your Inquiry
- Product length, width, and height
- Measurement unit, preferably millimeters
- Product weight
- Clear photos from the front, side, and top
- Number and dimensions of accessories
- Preferred product orientation inside the box
- Required insert or internal support
- Desired PET material thickness
- Printing and finishing requirements
- Estimated order quantity
- Preferred box style, if known
- Whether a physical product sample can be provided
For complex or irregular products, sending a physical sample is often the most reliable option. The manufacturer can measure the product directly, test different packing arrangements, and prepare a dieline based on the actual item.
If a physical sample is not available, provide accurate dimensions, several clear photos, and a simple drawing showing the preferred arrangement of the product and accessories.
You can also read our PET packaging artwork and dieline preparation guide before submitting your design files.
Final Product Measurement Checklist
- Measure the maximum length, width, and height
- Include caps, handles, hooks, buttons, and other protruding parts
- Confirm the measurement unit
- Record dimensions as L × W × H
- Measure the product more than once
- Include inserts, accessories, manuals, and promotional items
- Confirm the final packing orientation
- Provide clear photos from multiple angles
- State the product weight
- Provide the expected order quantity
- Confirm printing and finishing requirements
- Ask the manufacturer to verify the final box dimensions
- Request a sample before mass production
Need Help Confirming Your PET Packaging Box Size?
Accurate product measurements are the foundation of a well-fitting custom PET packaging box. However, the final box dimensions should also consider clearance, material thickness, box structure, inserts, accessories, and the packing method.
Our team can review your product dimensions, photos, weight, packing arrangement, and packaging requirements before preparing the dieline. For irregular or complex products, you can also send us a physical sample for direct measurement and fit testing.
Send us your product information to receive a suitable PET packaging box size and structure recommendation.
Learn more about our custom PET packaging boxes and PET packaging box manufacturing process.
Comments
2 responses to “How to Measure Your Product for a Custom PET Packaging Box”
[…] detailed measurement instructions, read our PET packaging box measurement guide before submitting your […]
[…] If you are still confirming the correct box dimensions, read our PET packaging box measurement guide. […]