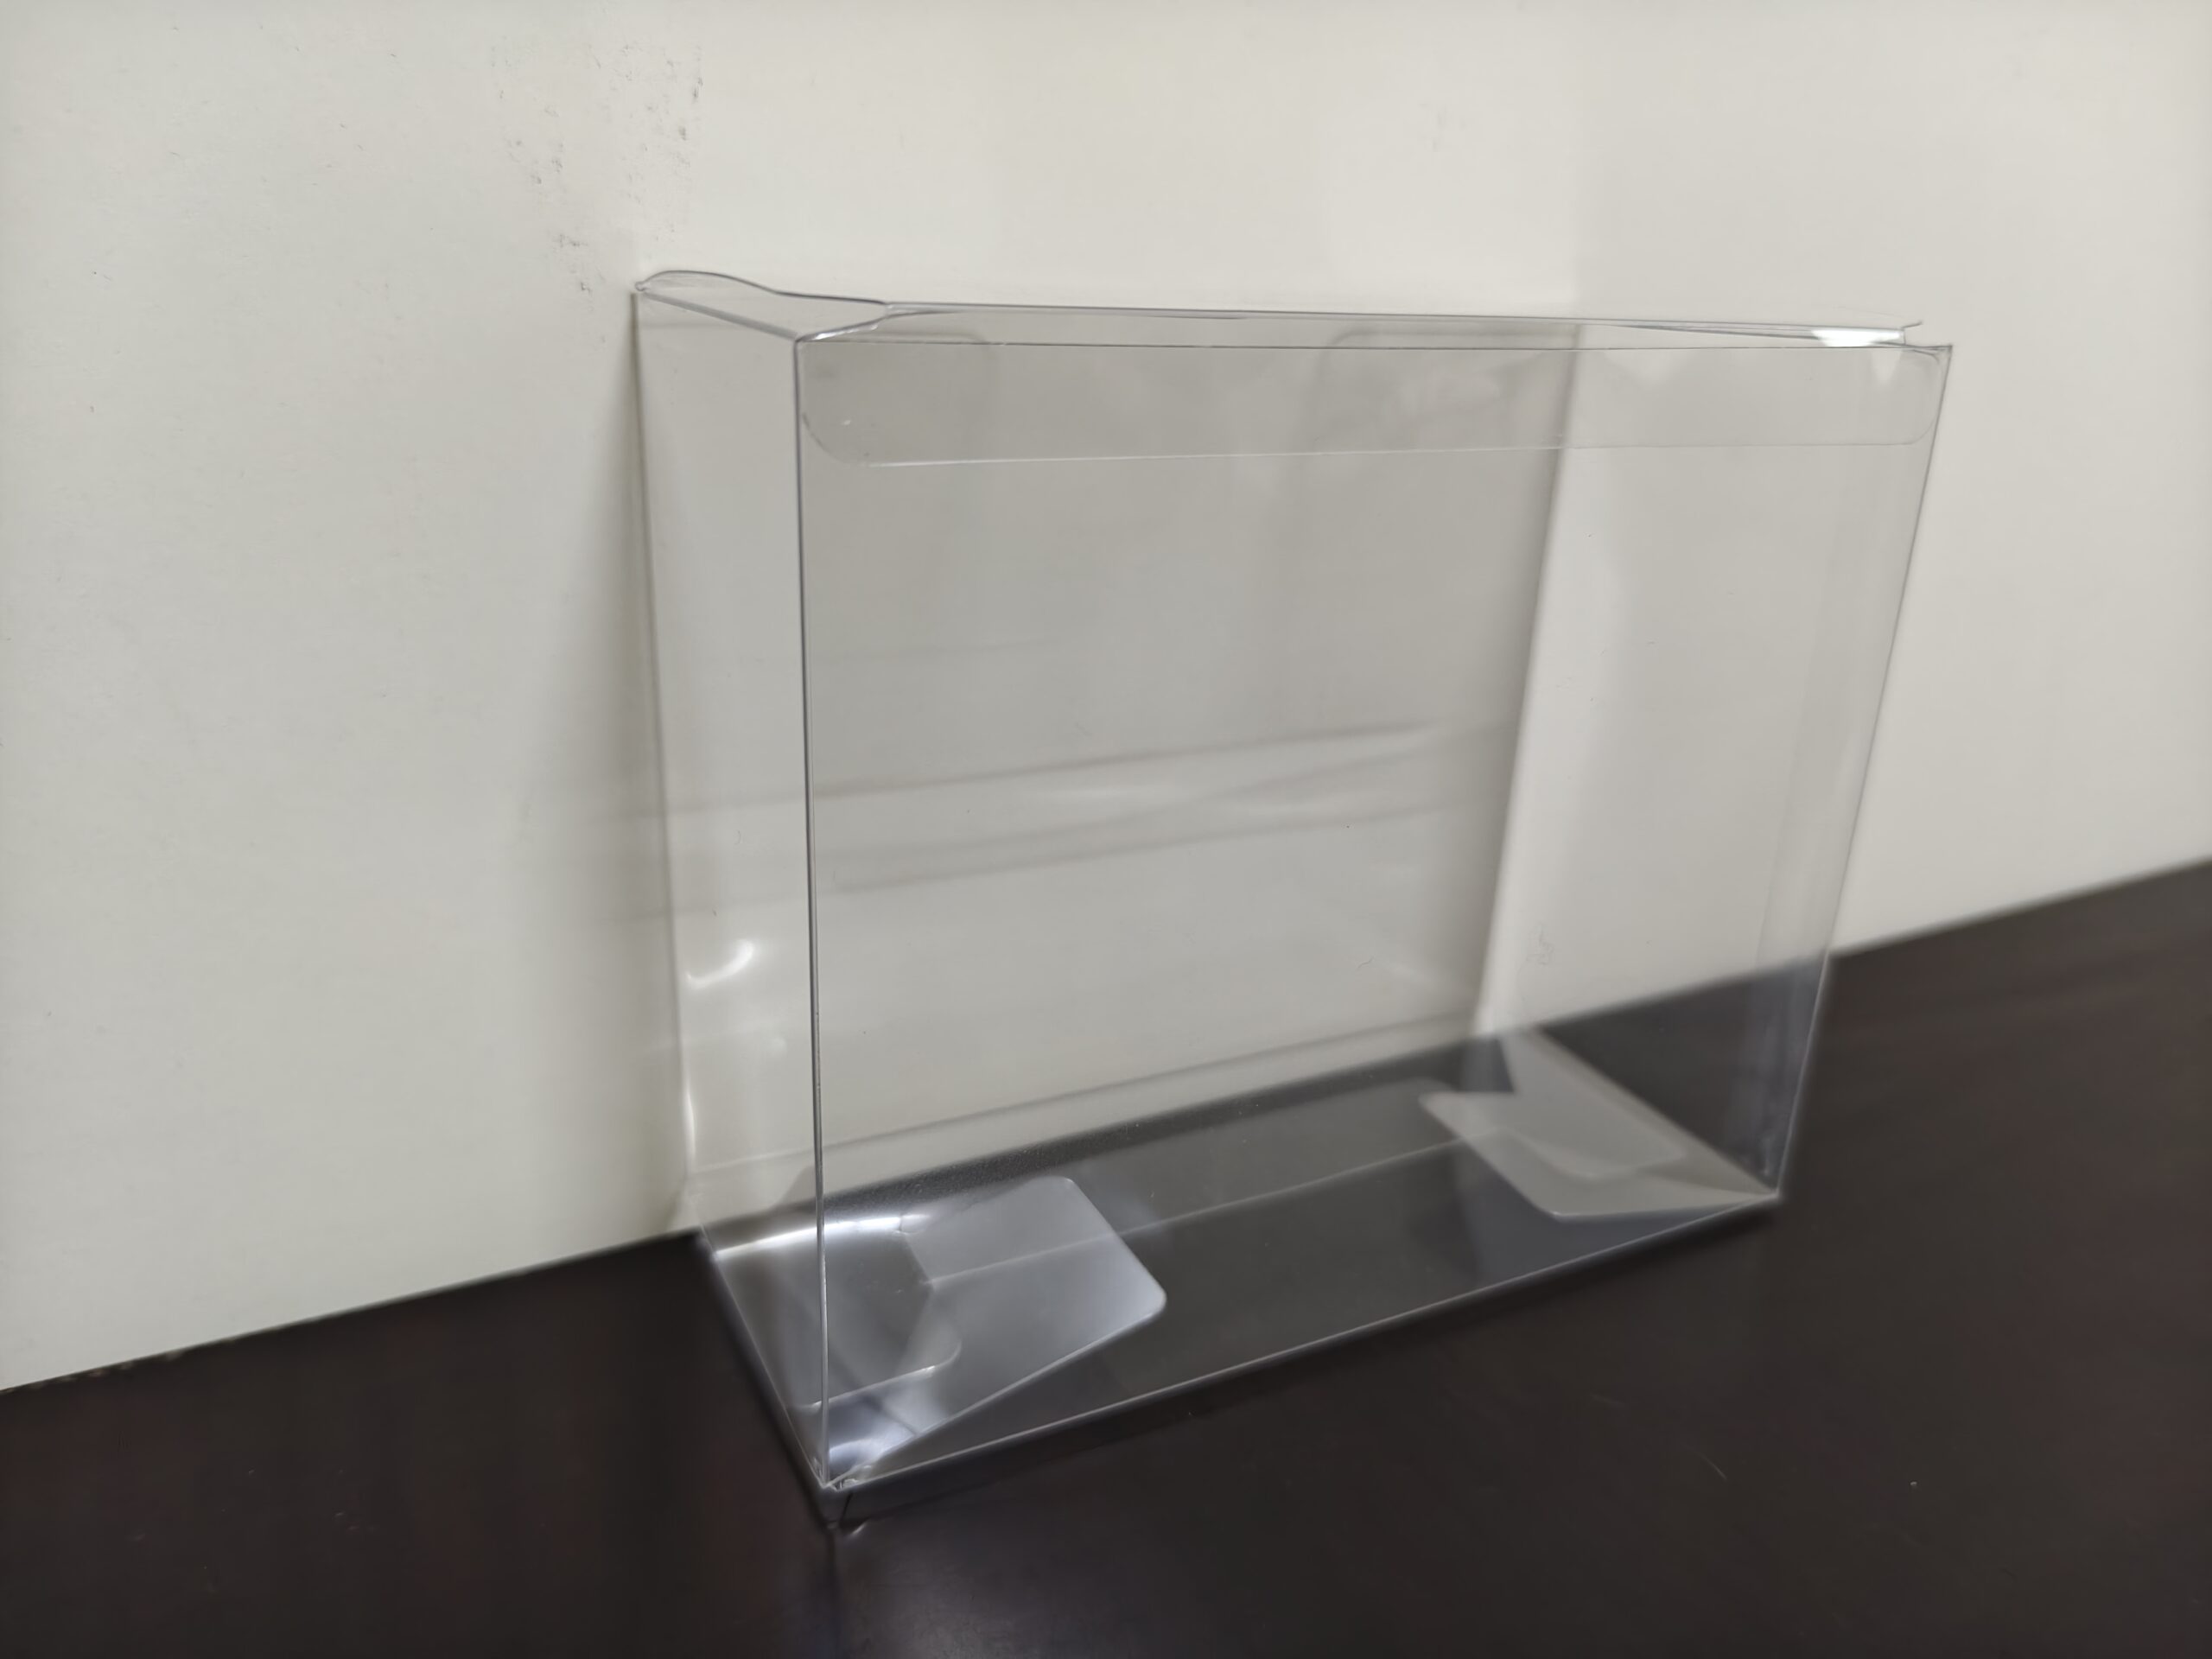
Clear PET packaging boxes are valued for their transparency and clean retail appearance, but this also makes surface and folding defects easier to notice. Scratches, cracks, and white crease marks can reduce product visibility and make the packaging look damaged or poorly manufactured.
Common PET packaging box quality problems may be caused by unsuitable material thickness, incorrect creasing, excessive folding pressure, poor handling, printing damage, or insufficient protection during packing and transportation.
In this guide, we explain why these problems occur, how manufacturers can reduce them during production, and what buyers should confirm before approving samples and mass production.
Why Clear PET Packaging Shows Defects Easily
Clear PET has a smooth and reflective surface, so even small scratches, dust marks, fingerprints, or pressure damage can be visible under light. Unlike printed paper packaging, transparent material cannot easily hide surface defects.
Creasing and folding quality are also important because PET must bend along accurately prepared lines. If the crease is too shallow, too deep, too narrow, or incorrectly positioned, the material may resist folding, turn white, crack, or lose its original shape.
The final appearance is affected by several factors, including PET grade, sheet thickness, crease design, machine settings, storage conditions, handling methods, printing coverage, and box structure.
Because these factors interact with each other, quality control should begin with material selection and continue through cutting, creasing, folding, gluing, inspection, packing, and shipment.
Common Scratches on PET Packaging Boxes
Scratches are one of the most visible PET packaging box quality problems because the clear surface reflects light and shows even small marks.
Scratches may occur when PET sheets rub against each other, contact rough machine surfaces, slide across dirty worktables, or are handled without enough protection. Printed areas can also be damaged if the ink has not cured properly or if finished boxes are packed too tightly.
Some minor marks may come from the removable protective film rather than the PET surface itself. For this reason, inspection should confirm whether the defect is on the film or on the actual material before the boxes are rejected.
Using clean equipment, smooth work surfaces, protective film, careful stacking, and suitable packing materials can greatly reduce surface damage during production and transportation.
Common Causes of PET Surface Scratches
- PET sheets rubbing directly against each other
- Dust, metal particles, or debris on worktables
- Rough machine guides or conveyor surfaces
- Dragging boxes instead of lifting them
- Improper stacking after die-cutting
- Insufficient protective film
- Poorly cured printing ink
- Excessive pressure during packing
- Loose movement inside shipping cartons
How to Reduce Scratches
- Keep worktables and machine surfaces clean
- Use protective film when required
- Separate finished parts with clean paper or film
- Avoid dragging PET sheets and folded boxes
- Wear clean gloves during final handling
- Confirm that printing ink is fully cured
- Use suitable carton packing and internal protection
- Inspect surfaces under strong light before shipment
Why PET Packaging Boxes Crack During Folding
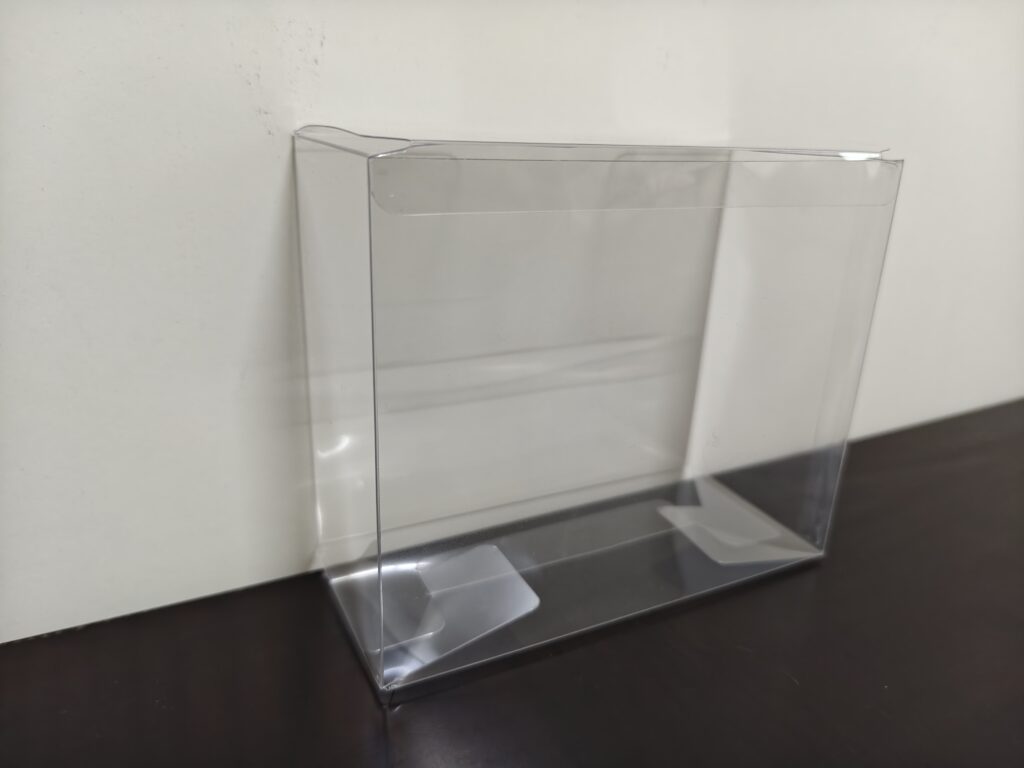
Cracking usually occurs when the PET sheet cannot bend smoothly along the crease line. This may be caused by unsuitable material, excessive crease depth, incorrect crease width, low temperature, sharp folding angles, or repeated folding in the same area.
PET becomes less flexible in cold conditions, so material that folds normally in a warm workshop may crack more easily after cold storage or winter transportation. Thick PET can also require a wider or more suitable crease than thin material.
Cracks may appear directly on the crease line, at the corner where several folds meet, or near die-cut openings and hanger holes. These areas experience concentrated stress and therefore require accurate structural design and production control.
The risk can be reduced by testing the PET grade and thickness, adjusting the creasing settings, avoiding excessively sharp corners, and approving a physical sample before mass production.
Common Causes of Cracking
- PET material with insufficient folding toughness
- Crease lines that are too deep or too narrow
- Incorrect creasing pressure
- Unsuitable crease width for the PET thickness
- Folding at very low temperatures
- Repeated folding and reopening
- Sharp corners with concentrated stress
- Die-cut holes positioned too close to crease lines
- Incorrect folding direction
- Damaged or aged PET sheets
How to Reduce Cracking During Folding
- Match the crease design to the PET thickness
- Test the material before mass production
- Adjust creasing pressure and machine settings
- Allow cold PET sheets to reach room temperature before folding
- Avoid unnecessary repeated folding
- Use rounded transitions at high-stress corners
- Keep holes and cutouts away from critical crease areas
- Confirm the correct folding direction
- Approve a physical sample with the final material
What Causes White Crease Marks on PET Boxes
White crease marks appear when the PET material is stressed during creasing or folding and the fold area loses some of its original transparency. The line may look cloudy, pale, or slightly opaque even when the material has not fully cracked.
This problem is often caused by excessive creasing pressure, a crease that is too narrow, unsuitable PET thickness, repeated folding, low material temperature, or an incorrect folding direction.
A slight visible line may be normal on some clear PET structures, especially at sharp 180-degree folds. However, severe whitening usually indicates that the crease design or production settings should be adjusted.
The goal is not always to eliminate every visible fold line, but to control the crease so that the box folds accurately without strong whitening, cracking, distortion, or loss of transparency.
Common Causes of White Crease Marks
- Creasing pressure is too high
- The crease channel is too narrow
- PET thickness does not match the crease design
- The material is folded in the wrong direction
- The same crease is folded repeatedly
- PET sheets are too cold during folding
- The folding angle is too sharp
- Stress is concentrated near corners or cutouts
- The selected PET grade has limited folding performance
How to Reduce White Crease Marks
- Match the crease width and depth to the PET thickness
- Reduce excessive creasing pressure
- Test both folding directions before production
- Fold the material only as much as necessary
- Allow cold PET sheets to reach room temperature
- Avoid sharp structural transitions where possible
- Use a suitable PET grade with good folding performance
- Approve the crease appearance on a physical sample
How PET Thickness Affects Folding Quality
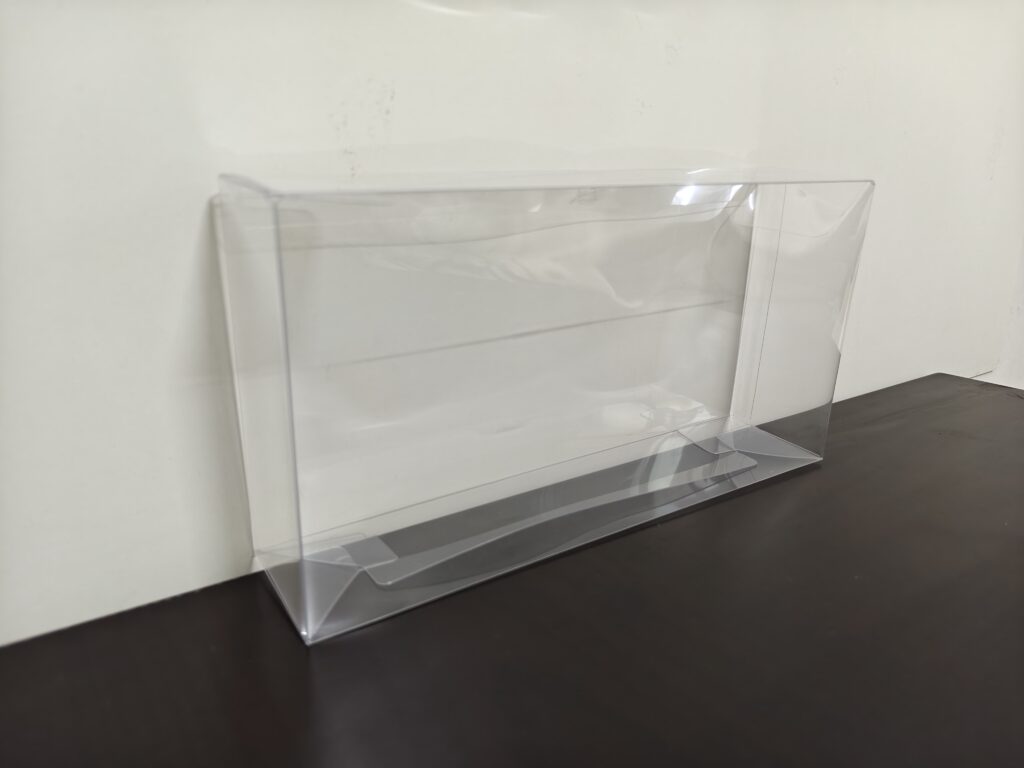
PET thickness affects stiffness, crease resistance, folding force, box strength, and the visibility of fold lines. A thicker sheet may provide better support for heavier products, but it usually requires a wider and more carefully controlled crease.
If a thick PET sheet is creased too narrowly or folded too sharply, stress may concentrate along the fold and cause whitening, cracking, or spring-back. A very thin sheet is easier to fold, but it may deform, collapse, or lose its shape during packing and transportation.
The correct thickness should therefore be selected according to the product weight, box dimensions, structure, display method, and required appearance. Thickness should not be increased simply to make the box feel stronger because excessive material may create unnecessary folding difficulty and cost.
The final crease design and machine settings should always be tested using the actual production thickness rather than a different sample material.
Thickness-Related Folding Problems
- Thick PET requiring excessive folding force
- Narrow creases causing whitening or cracking
- Thin PET panels losing rigidity
- Incorrect thickness used during sampling
- Spring-back after folding
- Uneven folds between different panels
- Material deformation near large transparent areas
- Excessive thickness increasing production cost
How to Select a Suitable PET Thickness
- Consider the product dimensions and weight
- Match the thickness to the box structure
- Check whether the box will stand or hang
- Consider the size of transparent panels
- Confirm the required bottom strength
- Test the actual material before production
- Avoid using excessive thickness without a clear benefit
- Approve folding quality with a physical sample
For more detailed guidance, read our PET packaging box thickness guide.
Importance of Creasing Pressure and Machine Settings
Creasing pressure and machine settings must be adjusted according to the PET grade, sheet thickness, crease direction, box structure, and required folding angle.
If the pressure is too low, the crease may be too shallow and the panel may spring back or resist folding. If the pressure is too high, the crease area may turn white, become distorted, or crack during assembly.
Consistent machine settings are especially important for boxes with several connected folds, small locking tabs, hanger holes, or strong bottom structures. A small error in crease position or depth can affect the way the entire box closes.
Before mass production, the manufacturer should test the actual production material, confirm the folding direction, inspect several samples, and adjust the machine until the crease appearance and folding performance are stable.
Machine Settings That Affect PET Folding
- Creasing pressure
- Crease width and depth
- Position of the crease line
- Cutting and creasing alignment
- Folding direction
- Machine speed
- Material feeding accuracy
- Condition of creasing tools
- Workshop temperature
- Consistency between production batches
Production Checks Before Mass Creasing
- Confirm the correct PET grade and thickness
- Test the crease on actual production material
- Fold the sample in the intended direction
- Inspect for whitening, cracking, and spring-back
- Check whether tabs and flaps lock correctly
- Confirm corner and cutout positions
- Compare several samples for consistency
- Record the approved machine settings
To understand where creasing fits into production, read our custom PET packaging box manufacturing process guide.
Protective Film and Anti-Scratch Handling
Protective film can help reduce scratches, fingerprints, dust, and friction marks during cutting, creasing, printing, folding, packing, and transportation.
However, protective film must be selected and applied correctly. Film with excessive adhesion may leave residue or become difficult to remove, while film with insufficient adhesion may peel away during production and stop protecting the PET surface.
The film should also be checked before printing, gluing, or folding because some processes require the protective layer to be removed from specific areas. If the film remains in the wrong position, it may affect ink adhesion, glue bonding, or final box assembly.
Even when protective film is used, careful handling is still necessary. PET sheets and finished boxes should be lifted rather than dragged, stacked evenly, and kept away from dust, sharp tools, rough tables, and excessive carton pressure.
Protective Film Checks
- Confirm whether one-side or two-side film is required
- Check film adhesion before production
- Confirm whether the film leaves residue
- Remove film from printing or gluing areas when necessary
- Keep exposed PET surfaces clean
- Prevent film edges from peeling during handling
- Confirm when the buyer should remove the film
- Inspect the PET surface after film removal
Anti-Scratch Handling Practices
- Use clean gloves during final inspection
- Lift PET parts instead of dragging them
- Keep worktables free from dust and metal particles
- Use smooth trays, separators, or clean paper
- Avoid stacking excessive weight on finished boxes
- Pack boxes tightly enough to prevent movement
- Add internal protection inside shipping cartons
- Keep finished products away from sharp tools and rough surfaces
Printing Damage and Surface Defects
Printing can create additional surface defects if the PET material, ink, curing method, or handling process is not controlled correctly.
Common problems include ink scratching, peeling, smudging, uneven coverage, pinholes, poor adhesion, color variation, and visible marks around printed areas. These defects may become more noticeable on transparent PET because light passes through the material and highlights differences in ink density.
Poor adhesion may occur when the PET surface is contaminated by dust, oil, fingerprints, protective-film residue, or unsuitable surface treatment. Ink may also be damaged if the boxes are stacked, folded, or packed before the printed layer is fully cured.
The printing process should therefore be tested on the actual PET grade and thickness. Printed samples should be checked after folding, rubbing, stacking, and normal handling rather than only immediately after printing.
Common Printing-Related Defects
- Ink scratching or peeling
- Smudged or incompletely cured ink
- Uneven color coverage
- Pinholes or missing printed areas
- Poor adhesion near crease lines
- Color differences between production batches
- White ink showing through incorrectly
- Printing damaged during folding
- Fingerprints, dust, or surface contamination
How to Reduce Printing Damage
- Clean the PET surface before printing
- Use ink suitable for PET material
- Confirm any required surface treatment
- Allow the ink to cure completely
- Test adhesion before mass production
- Avoid folding directly through critical printed areas
- Protect printed surfaces during stacking
- Inspect colors and adhesion on printed samples
- Test the finished box under normal handling conditions
For more information about suitable processes, compare our PET packaging printing methods.
Packing and Transportation Protection
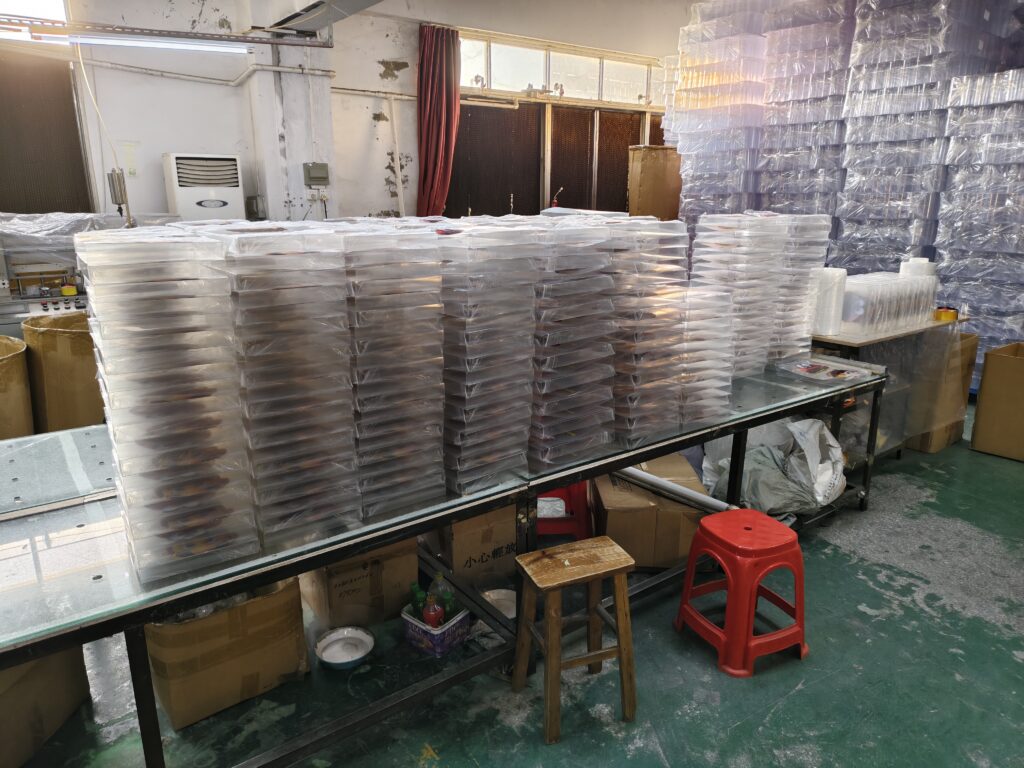
Packing quality is important because PET boxes can still become scratched, bent, compressed, or deformed after production if they are not protected correctly during storage and transportation.
Most folding PET boxes are shipped flat to reduce carton volume and transportation cost. However, flat-packed boxes must be stacked evenly and protected from excessive pressure, moisture, dust, sharp objects, and movement inside the carton.
If the cartons are packed too loosely, the boxes may slide and rub against each other. If they are packed too tightly or stacked under excessive weight, crease lines, tabs, corners, or transparent panels may become distorted.
Printed boxes require additional care because friction, pressure, and heat can damage ink layers or transfer marks between surfaces. Suitable separators, inner bags, carton liners, and stable carton packing can reduce these risks.
Common Transportation Damage
- Surface scratches caused by movement inside cartons
- Bent corners or locking tabs
- Compressed transparent panels
- Distorted crease lines
- Ink rubbing or transfer marks
- Dust entering unprotected packages
- Moisture affecting cartons and packing materials
- Damage caused by sharp objects
- Excessive pallet or carton stacking pressure
How to Protect PET Boxes During Shipping
- Ship folding boxes flat when the structure allows
- Stack all pieces in the same direction
- Use clean inner bags or protective wrapping
- Add separators for printed or sensitive surfaces
- Fill empty carton space to prevent movement
- Avoid excessive pressure inside cartons
- Use suitable carton strength for the shipment
- Keep cartons dry and away from sharp objects
- Confirm pallet stacking limits when required
- Inspect carton condition before shipment
Quality Inspection Before Shipment
Final inspection should confirm that the PET packaging boxes match the approved sample, artwork, dimensions, material thickness, structure, and packing requirements.
Inspection should not focus only on visible appearance. The boxes should also be folded and assembled to confirm that the panels align correctly, tabs lock securely, glue areas hold properly, and the finished structure fits the intended product.
Transparent PET surfaces should be checked under suitable lighting because scratches, dust, fingerprints, whitening, and printing defects may be difficult to notice under weak light.
Inspection samples should be taken from different parts of the production batch. This helps identify inconsistent creasing, printing, cutting, gluing, or packing problems before the goods are shipped.
PET Box Quality Inspection Checklist
- Correct PET grade and thickness
- Accurate box dimensions
- Clean and transparent surfaces
- No serious scratches or fingerprints
- No cracks along crease lines
- Acceptable white crease appearance
- Accurate cutting and crease positions
- Tabs and flaps locking correctly
- Stable glue bonding
- Correct printing colors and position
- No ink scratching, peeling, or smudging
- Correct quantity and packing method
- Cartons free from compression or moisture damage
Functional Checks
- Fold and assemble several boxes
- Insert the actual product or approved sample
- Check whether the product moves excessively
- Confirm that the bottom supports the product weight
- Open and close the box several times
- Check hanger tabs or display holes when applicable
- Confirm that inserts and accessories fit correctly
- Compare the finished box with the approved sample
Questions Buyers Should Confirm Before Production
Before approving mass production, buyers should confirm the material, structure, printing, folding quality, protective requirements, and final packing method. A clear approval standard helps prevent disputes about scratches, white crease marks, printing appearance, or normal fold lines.
- What PET grade and thickness will be used?
- Has the final box structure been tested with the actual product?
- Is the crease appearance acceptable?
- Are slight white fold lines considered acceptable?
- Has the printing adhesion been tested?
- Is protective film required?
- Will the boxes be shipped flat or pre-assembled?
- What packing method will protect the surfaces?
- Has a final physical sample been approved?
- What inspection standard will be used before shipment?
Frequently Asked Questions
Are white crease marks always a quality defect?
Not always. A slight visible fold line may be normal on clear PET, especially at sharp folds. Severe whitening, cracking, distortion, or loss of transparency usually indicates that the crease design, PET thickness, folding direction, or machine settings should be adjusted.
Can scratches be completely avoided on clear PET boxes?
Minor surface marks can be difficult to eliminate completely because clear PET shows defects easily under strong light. However, protective film, clean handling, suitable packing, and careful inspection can greatly reduce visible scratches.
Why does PET crack more easily in cold weather?
PET may become less flexible at low temperatures. Cold material can resist folding and develop cracks or stronger white crease marks. Allowing the sheets to reach room temperature before folding can reduce this risk.
Should a physical sample be approved before production?
Yes. A physical sample allows the buyer to confirm product fit, box structure, folding direction, crease appearance, transparency, printing, and assembly before mass production.
Need Help Solving PET Packaging Box Quality Problems?
PET packaging box quality problems can often be reduced by selecting the correct material thickness, crease design, box structure, printing method, protective film, and packing process.
Send us your product dimensions, weight, box structure, printing requirements, photos, and expected order quantity. If you already have a sample or dieline, include it for review.
Our team can evaluate the design, prepare a suitable dieline, produce samples, and recommend practical adjustments before mass production.