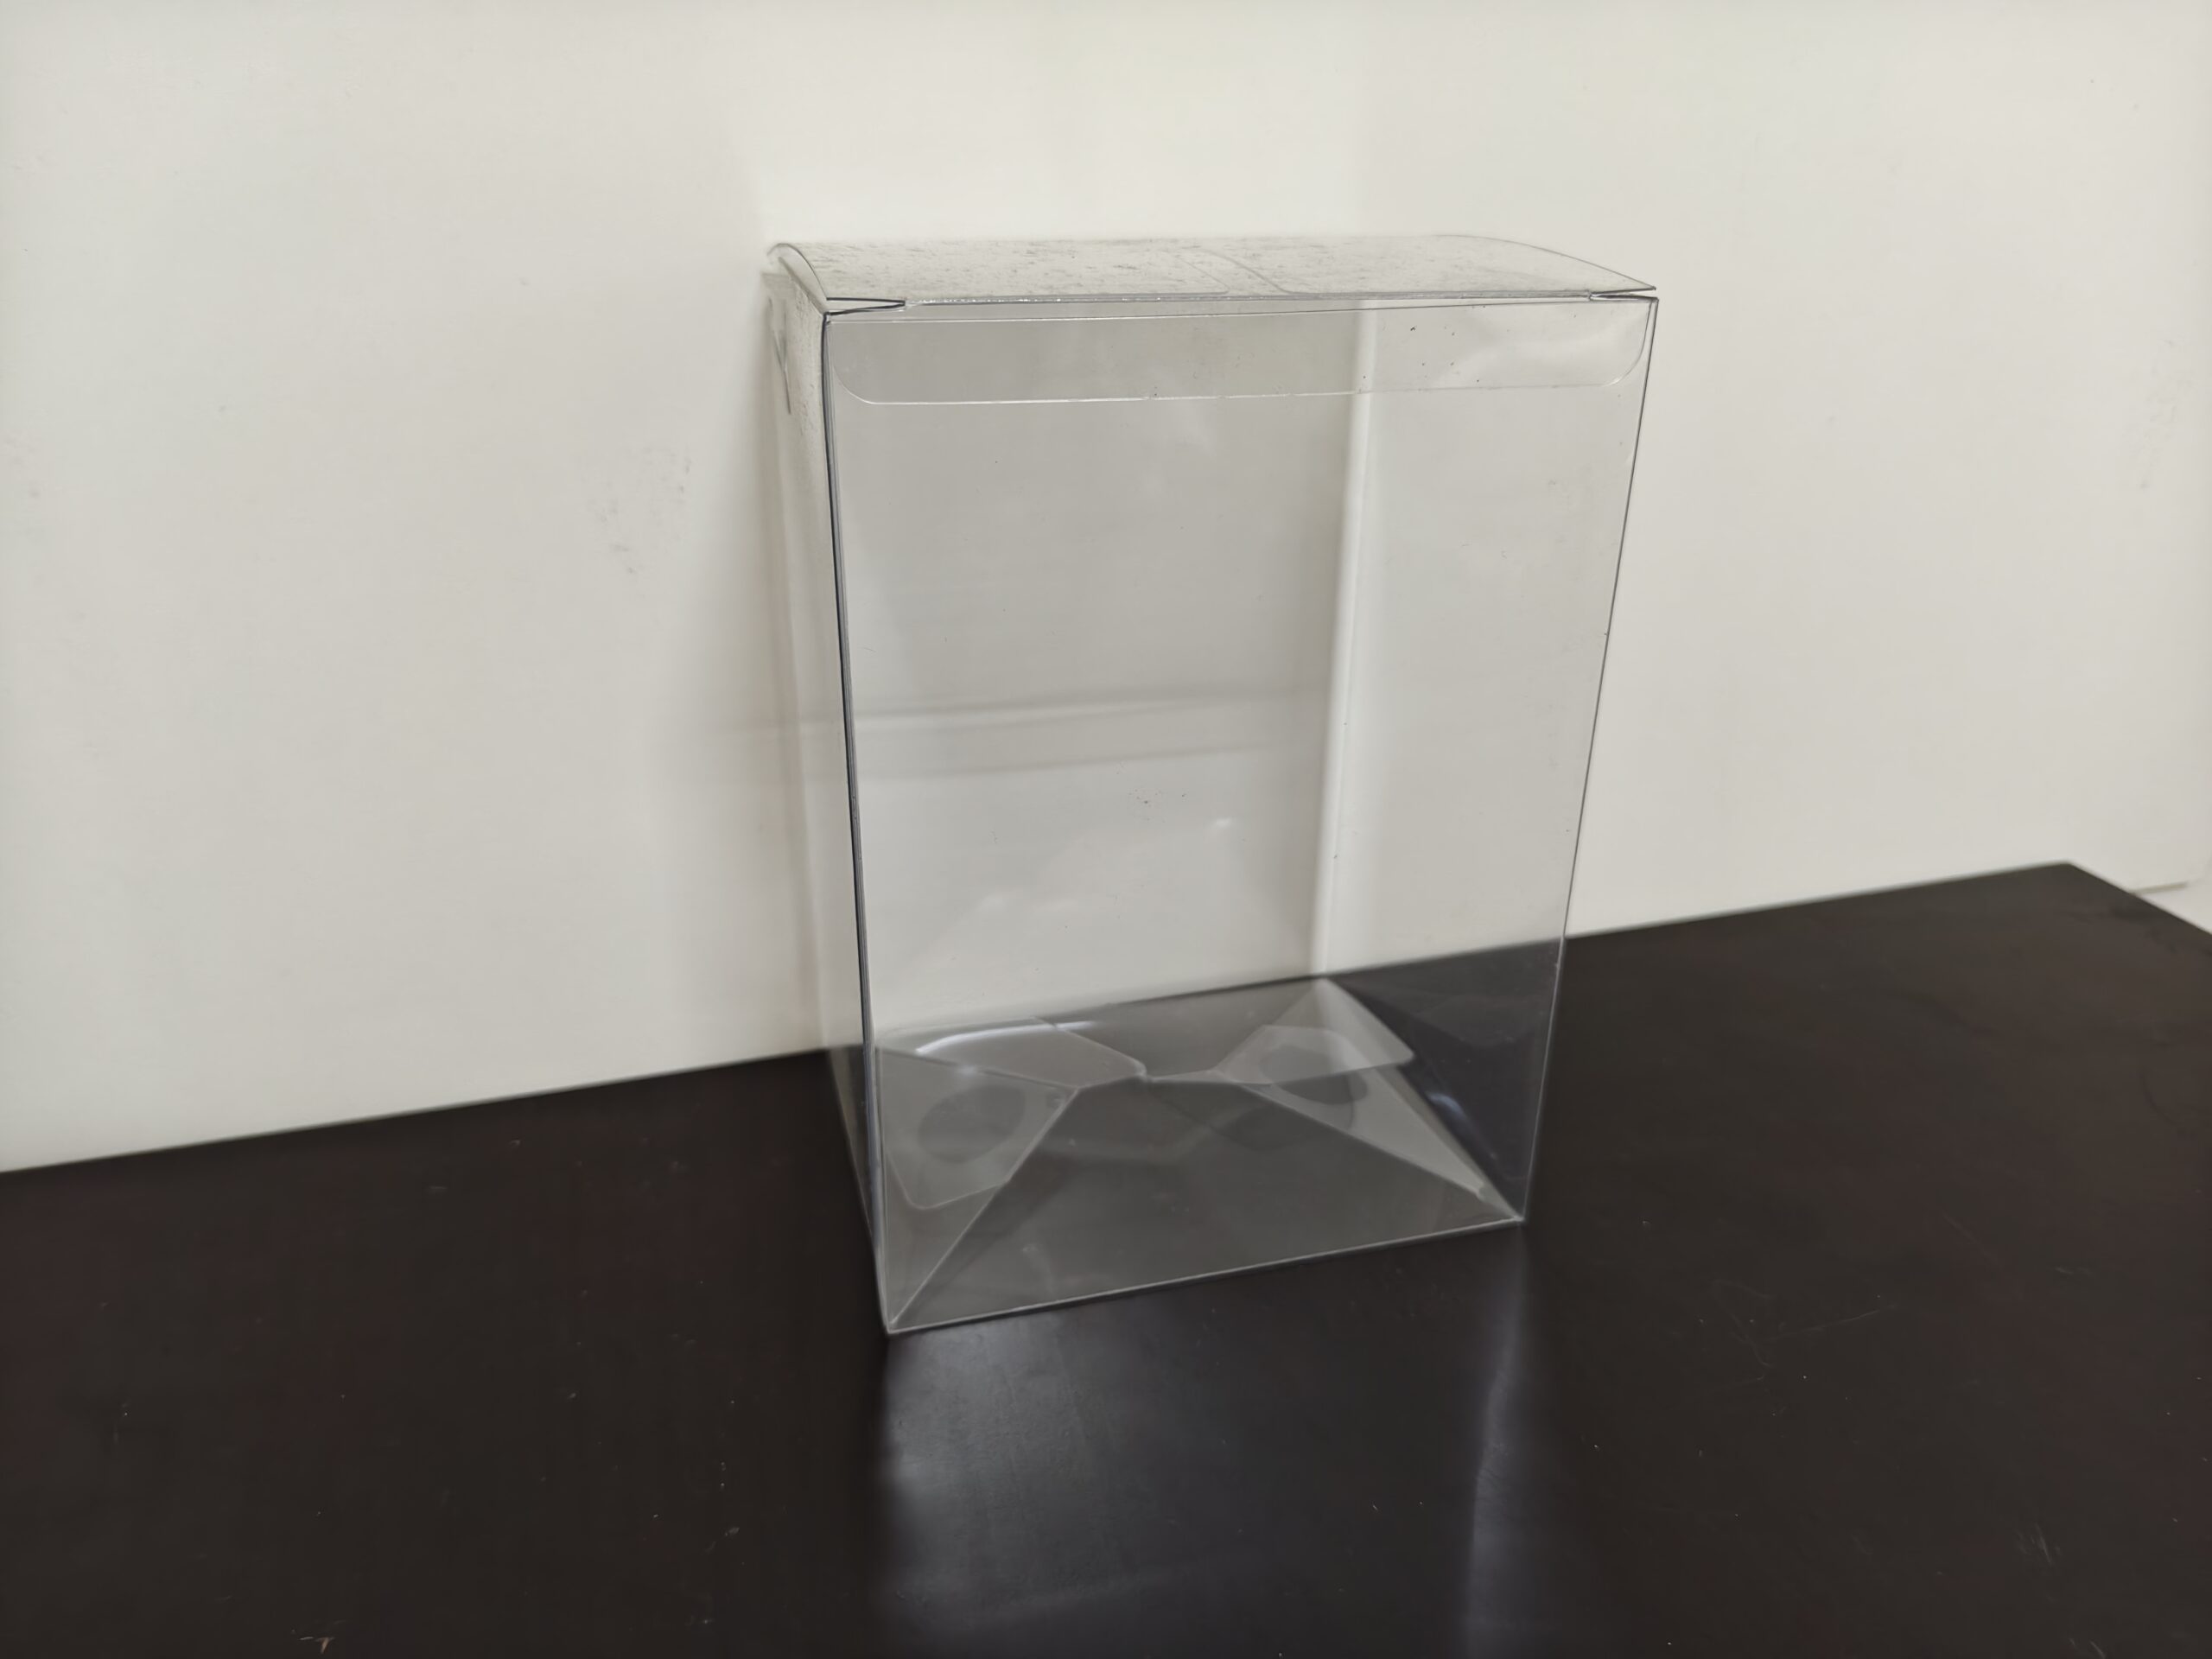
PET packaging box samples are an important step before mass production because they allow buyers to check the size, structure, material, folding quality, printing, and overall appearance of the packaging.
A sample can reveal problems that may not be obvious from drawings or digital artwork alone. For example, the box may be too tight, too loose, difficult to assemble, easy to scratch, or unsuitable for the product weight.
In this guide, we explain what buyers should check when reviewing PET packaging box samples and which details should be confirmed before approving mass production.
Why PET Packaging Box Samples Matter
A physical sample helps confirm whether the proposed packaging design works in real use. It allows the buyer to insert the actual product, test the folding structure, check transparency, inspect crease lines, and evaluate the overall retail presentation.
For custom PET packaging, even small differences in dimensions, material thickness, crease position, or box structure can affect the final result. A sample provides an opportunity to identify these problems before they are repeated across hundreds or thousands of production pieces.
Samples are also useful for checking printing position, color coverage, white ink, inserts, hanger tabs, locking flaps, and other custom details.
The goal of sample approval is not only to confirm appearance. Buyers should also confirm functionality, product fit, durability, packing efficiency, and whether the approved sample can be used as a clear reference for mass production.
Check the Product Fit First
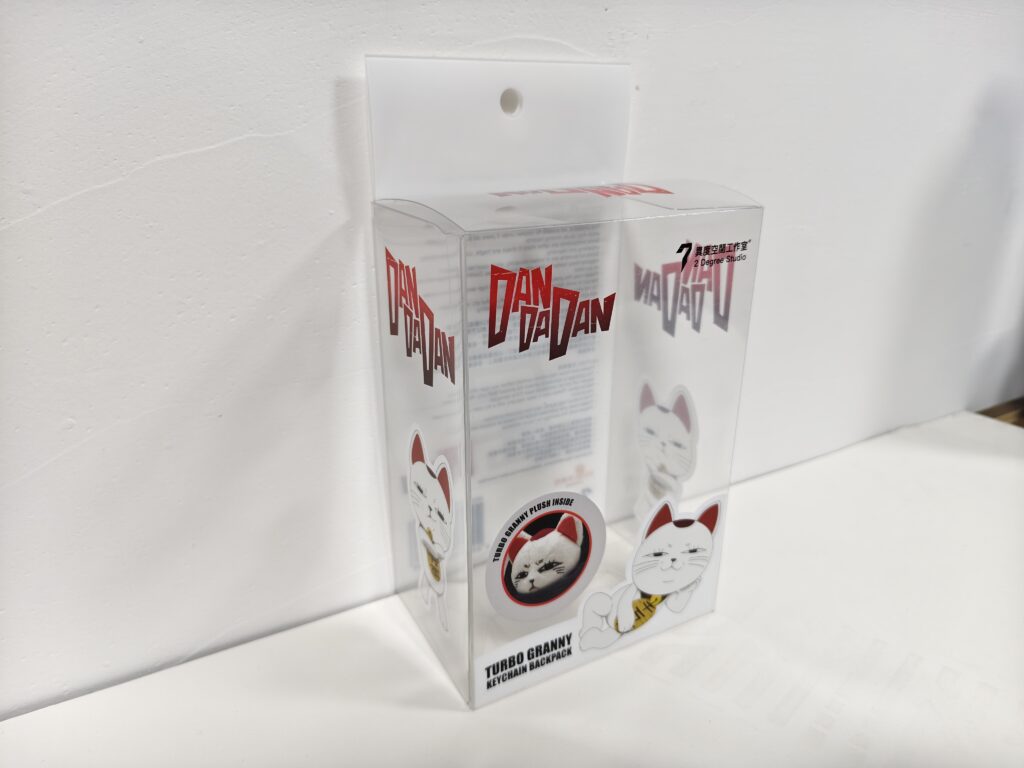
The first thing to check is whether the actual product fits the sample correctly. The box should not be so tight that the product is difficult to insert or remove, and it should not be so loose that the product moves excessively during handling or transportation.
Check the fit using the complete product, including accessories, inserts, cables, caps, handles, or other protruding parts. If the package includes several items, test them in the same arrangement that will be used for mass production.
The product should sit in the intended position without causing the PET panels to bulge, bend, or remain under constant pressure. At the same time, the internal clearance should be small enough to maintain a neat retail appearance.
If an insert, tray, or divider is included, confirm that it holds the product securely and does not make the box difficult to assemble.
Product Fit Checklist
- The product can be inserted and removed smoothly
- The box is not excessively tight
- The product does not move too much inside the box
- Accessories fit in the intended position
- Inserts or trays hold the product securely
- PET panels are not pushed outward by the product
- The product orientation matches the display design
- The final packed appearance looks balanced
If you are still confirming the correct box dimensions, read our PET packaging box measurement guide.
Check the PET Thickness and Box Strength
The PET thickness should match the product weight, box dimensions, structure, and display method. A sample that feels too soft may bend, collapse, or lose its shape during packing and transportation.
A box that is excessively thick may feel stronger, but it can also be harder to fold and may develop stronger white crease marks or spring-back along the folding lines.
When checking PET packaging box samples, hold the assembled box in your hands and apply light pressure to the side panels, bottom, and corners. The structure should remain stable without excessive deformation.
If the box includes an auto-lock bottom, tuck-end structure, hanger tab, or large transparent panel, check whether these areas provide enough support for the intended product.
Thickness and Strength Checklist
- The PET thickness matches the product weight
- Side panels do not collapse too easily
- The bottom provides enough support
- Large transparent panels remain stable
- Corners keep their intended shape
- The box does not feel unnecessarily rigid
- Fold lines do not show excessive spring-back
- The final structure remains stable after assembly
For more guidance, read our PET packaging box thickness guide.
Inspect Crease Lines and Folding Quality
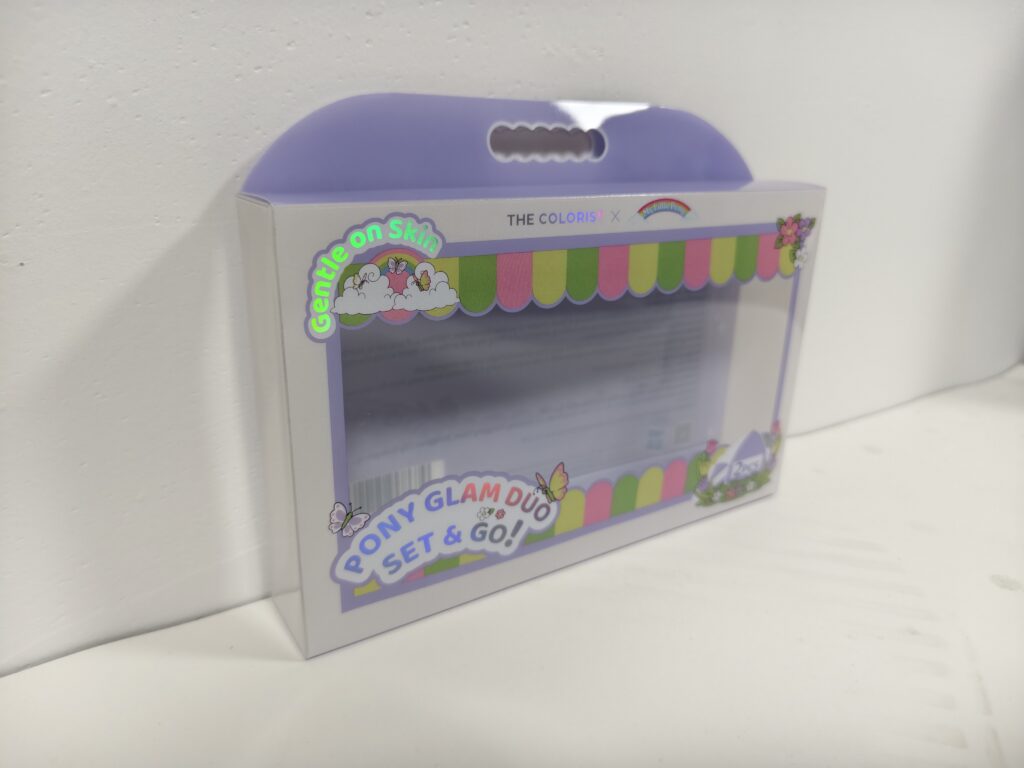
Crease lines should allow the PET box to fold smoothly without cracking, excessive whitening, distortion, or strong spring-back.
When reviewing PET packaging box samples, fold and unfold the main panels carefully and check whether the crease lines are positioned correctly. The box should assemble into the intended shape without requiring excessive force.
A slight visible fold line may be normal on clear PET, especially at sharp folds. However, strong white crease marks, cracks, split corners, or uneven folding usually indicate that the crease design, material thickness, folding direction, or machine settings should be adjusted.
Pay special attention to corners, locking tabs, hanger holes, and areas where several crease lines meet because these points often experience higher stress.
Crease and Folding Checklist
- Crease lines are straight and accurately positioned
- Panels fold in the intended direction
- The box can be assembled without excessive force
- No visible cracks appear along fold lines
- White crease marks remain within an acceptable level
- Corners do not split or distort
- Locking tabs fold and close correctly
- The box does not spring open after assembly
- Repeated opening does not cause immediate damage
For more details about scratches, cracks, and white fold lines, read our PET packaging box quality problems guide.
Check the Box Structure and Assembly
The box structure should be easy to assemble and suitable for the way the product will be packed, displayed, opened, and removed.
When reviewing PET packaging box samples, assemble the box several times and check whether each flap, locking tab, bottom panel, and hanger section works as intended. The structure should close securely without excessive force, misalignment, or deformation.
For boxes with auto-lock bottoms, snap-lock bottoms, tuck-end closures, or hanger tabs, check the specific functional areas carefully. Weak locking points or inaccurate die-cutting may cause the box to open unexpectedly or sit unevenly on the shelf.
The structure should also match the intended packing process. A design that works well for manual assembly may not be suitable for automatic packing, while a complex structure may increase packing time and labor cost.
Structure and Assembly Checklist
- All flaps fold in the correct direction
- Locking tabs engage securely
- The bottom remains closed under product weight
- The box stands evenly when assembled
- Hanger tabs align correctly with retail hooks
- Openings are easy for the customer to use
- Glue areas remain secure when applicable
- The box can be assembled consistently
- The structure matches the intended packing method
If you are still comparing different structures, read our PET packaging box styles guide.
Inspect Surface Clarity and Scratches
Clear PET packaging should look clean, transparent, and consistent under normal viewing conditions. Scratches, dust, fingerprints, or cloudy areas can reduce the visual quality of the package, especially when the product relies on transparency for display.
When reviewing PET packaging box samples, inspect the surface under good lighting and from several angles. Some marks may only become visible when light reflects across the panel.
If protective film is applied, confirm whether the marks are on the film or on the actual PET surface. The film should protect the box during production and transportation without leaving residue after removal.
Buyers should also consider how sensitive the surface appearance is for the final product. Premium cosmetics, gifts, and retail display packaging may require stricter visual standards than ordinary protective packaging.
Surface Quality Checklist
- Transparent panels look clear and consistent
- No serious scratches are visible
- No dust or fingerprints are trapped inside the box
- Protective film is applied correctly when required
- No adhesive residue remains after film removal
- Printed and unprinted areas remain clean
- The surface does not show unusual cloudiness
- The appearance meets the intended retail standard
Check Printing Quality and Artwork Position
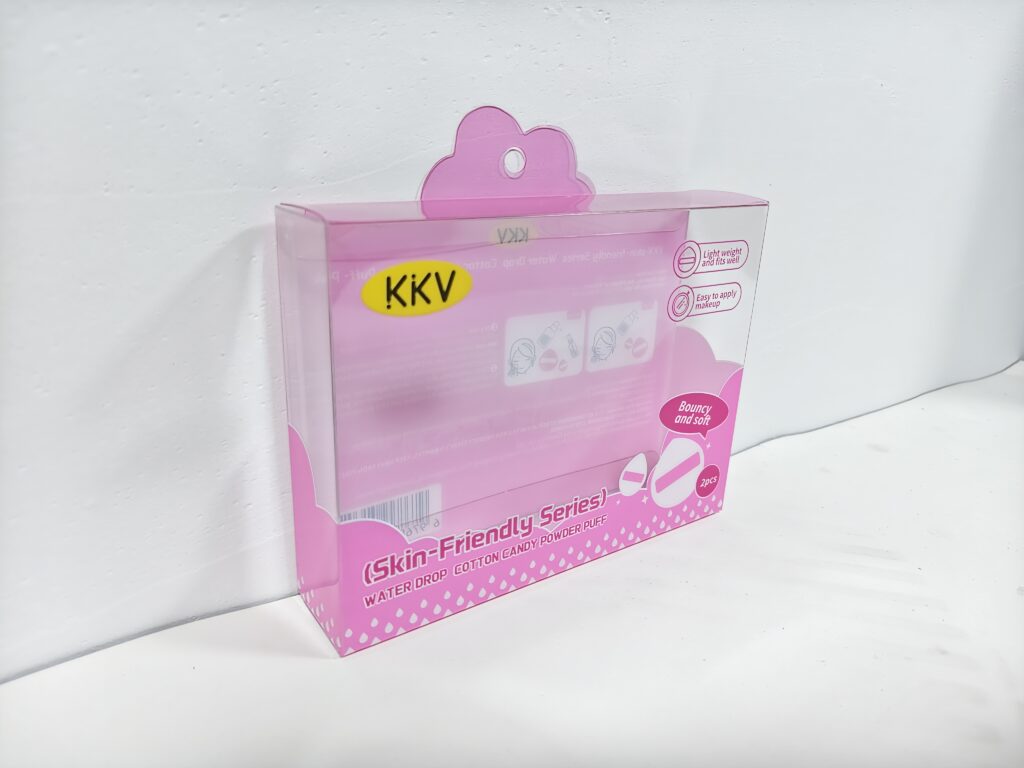
Printed PET packaging box samples should be checked for color accuracy, artwork position, ink coverage, adhesion, and consistency with the approved design.
Because PET is transparent, printing often interacts with clear areas, white ink, reverse printing, or other special effects. Small positioning errors can become very visible if logos, text, or graphics do not align correctly with the box panels, crease lines, or transparent windows.
Check whether the printed colors match the approved artwork as closely as possible, and confirm that important text, barcodes, logos, and product information are placed correctly.
The printed surface should also be tested for scratching, peeling, smudging, or poor adhesion. If the box will be folded after printing, inspect the printed areas near crease lines to make sure the ink is not damaged during assembly.
Printing Sample Checklist
- Artwork position matches the approved design
- Logos and text are aligned correctly
- Printed colors are consistent
- White ink coverage is sufficient when required
- Transparent areas remain clear
- No obvious smudging or missing ink appears
- Ink does not scratch or peel easily
- Printing remains stable near fold lines
- Barcodes and small text are readable
For a comparison of available printing processes, read our PET packaging printing methods guide.
Check Inserts, Trays, and Accessories
If the PET packaging box includes an insert, tray, divider, or additional accessory, these parts should be checked together with the complete packaging sample.
The insert should hold the product securely without creating excessive pressure on the PET box. It should also keep the product in the intended display position and prevent unnecessary movement during handling and transportation.
For multi-product packaging, confirm that each item has enough space and that the arrangement remains neat after the box is moved or turned. Accessories such as cables, tools, cards, or promotional items should also fit in the planned position.
The insert material, thickness, shape, and color should match the approved design. If the insert will be supplied separately, confirm that the final dimensions are compatible with the PET box.
Insert and Accessory Checklist
- The insert fits correctly inside the PET box
- The product is held securely
- Accessories remain in the intended position
- The insert does not deform the outer box
- Multiple products do not collide with each other
- The final arrangement looks neat and balanced
- Insert dimensions match the approved design
- The insert can be assembled or packed efficiently
Test the Packaging Under Real Use Conditions
A PET packaging box sample should be tested under conditions that are close to actual use. A box may look correct when empty but behave differently after the product is inserted, stacked, moved, opened, or displayed.
Pack the actual product into the sample and handle it the same way it will be handled during normal packing, storage, transportation, and retail display. Check whether the box keeps its shape and whether the product remains in the intended position.
If the packaging will be opened and closed by customers, test the opening process several times. If the box will hang on a retail hook, test the hanger tab with the actual product weight.
Real-use testing helps identify structural or functional problems before mass production and gives buyers a more reliable basis for sample approval.
Real-Use Test Checklist
- Pack the actual product into the sample
- Carry and handle the packed box normally
- Open and close the box several times
- Check whether the structure keeps its shape
- Confirm that the product remains in position
- Test hanger tabs when applicable
- Check bottom strength under actual product weight
- Observe whether scratches or deformation appear during handling
- Confirm that the packaging still looks suitable for retail display
Compare the Sample With the Approved Dieline and Artwork
The physical sample should be compared carefully with the approved dieline and artwork before mass production.
Check whether the cutting lines, crease positions, glue areas, hanger holes, locking tabs, and panel dimensions match the approved structure. Even a small structural difference can affect product fit, assembly, or retail presentation.
For printed packaging, compare the sample with the final artwork file. Confirm that logos, text, barcodes, transparent areas, white ink, and other design elements are positioned on the correct panels.
If any changes were made during sampling, make sure the latest dieline and artwork files are clearly identified and approved. Mass production should always follow the final approved version rather than an earlier draft.
Dieline and Artwork Comparison Checklist
- Box dimensions match the approved dieline
- Cutting and crease lines are correctly positioned
- Glue areas are in the correct location
- Hanger holes and locking tabs match the design
- Artwork is placed on the correct panels
- Logos, text, and barcodes are positioned correctly
- Transparent and printed areas match the approved artwork
- The latest file version is clearly identified
- Any sample changes are reflected in the final production files
Record Sample Approval Details Before Mass Production
Once the PET packaging box sample has been checked and accepted, the approval details should be recorded clearly before mass production begins.
The approved sample, final dieline, artwork file, material thickness, printing requirements, box structure, inserts, and packing method should all refer to the same final version.
If any small changes are accepted during sample review, record them in writing rather than relying only on verbal confirmation. This reduces the risk of mass production following an outdated file or an earlier sample version.
For important projects, keep one approved physical sample as a reference. The manufacturer and buyer can use it to compare mass-produced boxes during final quality inspection.
Sample Approval Record Checklist
- Approved sample version
- Final dieline version
- Final artwork version
- PET material and thickness
- Confirmed box dimensions
- Printing colors and finishing requirements
- Insert or tray specifications
- Accepted crease and folding appearance
- Packing method
- Approved production quantity
- Date of final sample approval
- Any special quality requirements
Final Checks Before Approving Mass Production
Before approving mass production, review the complete PET packaging box sample one final time using the actual product and the final approved specifications.
The goal is to confirm that no important detail has been missed between product fit, material thickness, structure, folding quality, printing, inserts, and packing requirements.
Buyers should also make sure that any changes made during sampling have been updated in the final dieline, artwork, and production instructions.
Once all details are confirmed, the approved sample can be used as the reference standard for mass production and final quality inspection.
Final Sample Approval Checklist
- Product fit is correct
- PET thickness is approved
- Box structure works as intended
- Crease and folding quality are acceptable
- Surface clarity meets the required standard
- Printing and artwork position are approved
- Inserts and accessories fit correctly
- The package passes real-use testing
- Final dieline and artwork versions are confirmed
- Packing and shipping requirements are clear
- All requested changes have been recorded
- The physical sample is approved for mass production
Frequently Asked Questions
How many PET packaging box samples should be checked before mass production?
For a simple custom project, checking several representative samples is usually more useful than reviewing only one piece. Buyers should compare dimensions, folding quality, printing, surface appearance, and assembly consistency across the samples.
Should the actual product be tested inside the sample?
Yes. The actual product should be packed into the PET packaging box sample whenever possible. This helps confirm fit, clearance, product movement, insert compatibility, bottom strength, and the final retail appearance.
Can a plain sample be approved before the printed sample?
Yes. A plain sample can be used to confirm box size, structure, PET thickness, folding quality, and product fit. Printing, color, white ink, and finishing details should then be approved separately when a printed sample is required.
What happens if the sample needs changes?
Any required changes should be recorded clearly and reflected in the final dieline, artwork, material specification, or production instructions. The revised version should be confirmed before mass production begins.
Need PET Packaging Box Samples Before Mass Production?
Reviewing PET packaging box samples before mass production helps reduce problems with product fit, material thickness, folding quality, printing, inserts, and final assembly.
Send us your product dimensions, weight, photos, box structure, printing requirements, and expected order quantity. If you already have a dieline or reference sample, include it for review.
For many custom PET packaging projects, we can prepare approximately 10–20 plain samples for evaluation, while the buyer pays the courier cost. Printed sample requirements can be confirmed separately based on the printing process and design.
Comments
One response to “PET Packaging Box Samples: What to Check Before Mass Production”
[…] approving production, you can review our PET packaging box sample inspection guide to check the key details that should be […]